I didn’t think I would have to deal with this topic at this stage. While I have started putting together some kits for model buildings, they were all perfectly suited to leaving the interior lighting aspect for a later time. But recently I got my hands on a kit that forced me to consider how to light it now, lest I leave it unfinished for the foreseeable future.
All the buildings I have assembled so far don’t have actual floors – they’re left open to facilitate precisely this: adding interior lighting at a later stage. But a new train station I acquired broke with that paradigm. Due to its design, with main hall doors that can be opened, and a waiting area opening onto the platform, it comes with solid floors for a nicer appearance. Which meant that if I wanted to add lights, I had to do it before putting on the roof and closing up the model.
As with everything else, there are many options when it comes to lighting up buildings. The manufacturers of these model kits offer their own lighting solutions, which can be as simple as a single light bulb or LED to put inside a building, or as sophisticated as light boxes for individual windows. All these solutions come with a price tag to match, and me being perpetually budget-conscious, I looked for a cheaper way. Of course.
This cheaper way materialised in the shape of an LED strip. These light strips, often powered by USB or batteries, and working like a self-adhesive tape, can be found almost everywhere that deals in electronics. People use them as ambient lights behind TVs or computer monitors, or as low-cost lighting for wardrobes and bookshelves. They also seem to be quite popular for camping.
The interesting thing about these strips is that they usually can be cut up into individual bits, each of which has connection points for positive and negative wires. My thought was to do exactly that, and create sets of single or multiple LEDs as each building required.
Since I had the intention to eventually control any lights digitally, very likely using Arduino-based control solutions, I wanted to stick with accessories that can handle a 5V power supply. I found and ordered a 5V specified strip with warm-white LEDs, 60 lights per metre, able to be split into single LEDs.
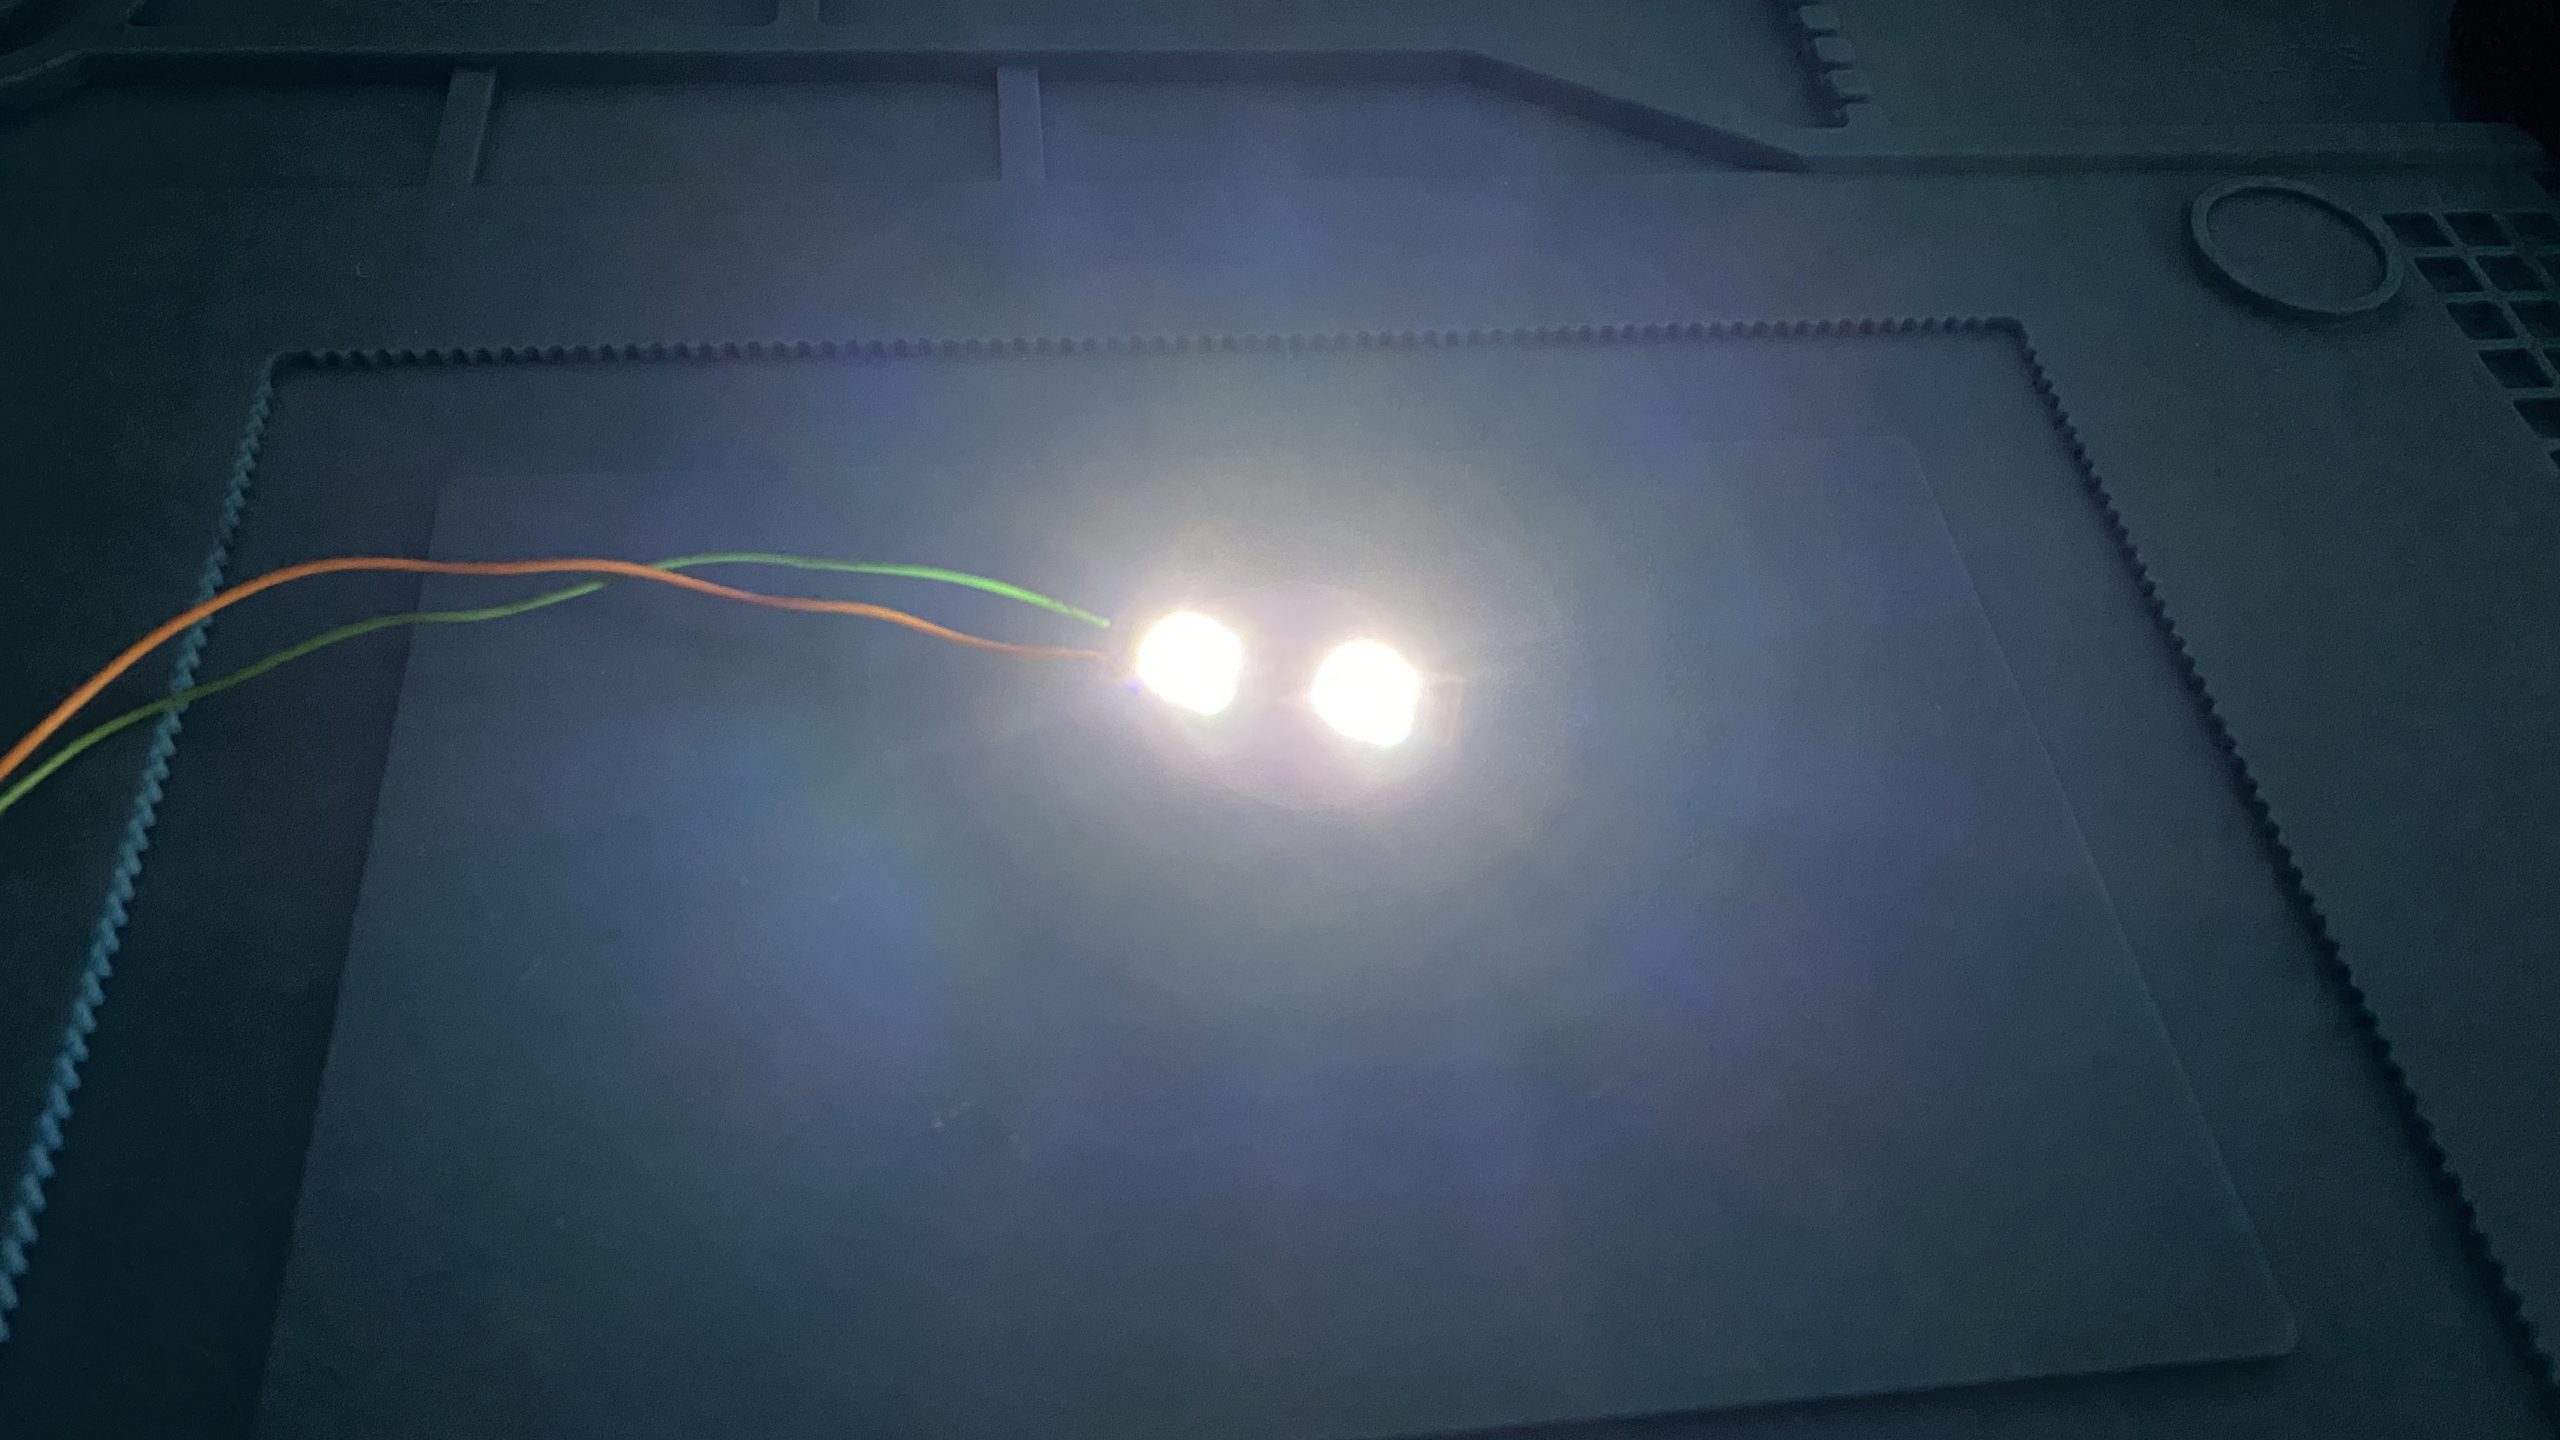
The first test was to see how bright they were. The SMD LEDs used on these strips tend to be very bright, but it all depends on the resistors used – the small black rectangles can be seen in the photos above. If the resistor is too big, the LEDs will appear dim. With the strip I bought, everything seems to be to spec, with the brightness being somewhere between ‘very bright’ and ‘holy shit that’s bright’.
Next, I put together a few smaller units to conduct some ad-how lighting tests with existing buildings. Aside from determining how many LEDs would be needed for any given building to make the lights look right, this is also a good way to figure out where the light bleeds through – that’s stuff one might want to fix up at a later stage. I made a single LED and a double LED. I had also planned on a triple, but it turns out it wasn’t necessary. With any of the buildings I tested, no more than two LEDs were needed to make the lights look reasonable.
Another purpose of the tests was to determine how the strips would handle the heat from a soldering iron. In order to attach wires, they need to be soldered, and there’s a good chance that if you do it wrong, you ruin the piece of strip you’re working with.
Every LED segment has four connection pads, two each positive and negative. This way you can cascade smaller sections if needed. I first applied a small amount of solder to each of the required connection pads. This needs to be done fairly quickly to avoid overheating the piece of strip. Then I also tinned the ends of the wires, and finally let them melt into the tin on the connection pad. This worked surprisingly well, with no damage or deforming of the strip material. It pays to use soft, flexible wire though – me being cheap, I am using wires ripped from old ethernet cables, but that stuff is not very flexible.
At this stage, I knew everything I needed to know to put the lights into the train station during the assembly process. Unfortunately there are few more issues with the train station, which means that the completed work will be the subject of a later post. But I am quite happy with the results so far.


