Laying the track
This post should have appeared before the last one, chronologically. However, when I got the new loco and tested my work, I was so stoked that things were working and I was making visible progress, that I just had to fire off a quick post about it.
(As an aside, sometimes I write a post in ten minutes flat, and at other times they sit and simmer for weeks before I finish them and am happy enough to publish).
A sizeable piece of work, after finalising the track plan and acquiring the needed materials, is actually getting the track into place. This is happening in stages, and is still a work in progress. I started out by laying all the track, according to the track plan, that is at board level. Remembering that there is an incline and an elevated section, I had to make sure that the incline would still fit in the board, even though things may get a bit tight (but who doesn't like to see a train make its way along a sheer cliff face 😄?). I then pinned the track in place, and marked it out on the board with pencil, before picking it all up again.
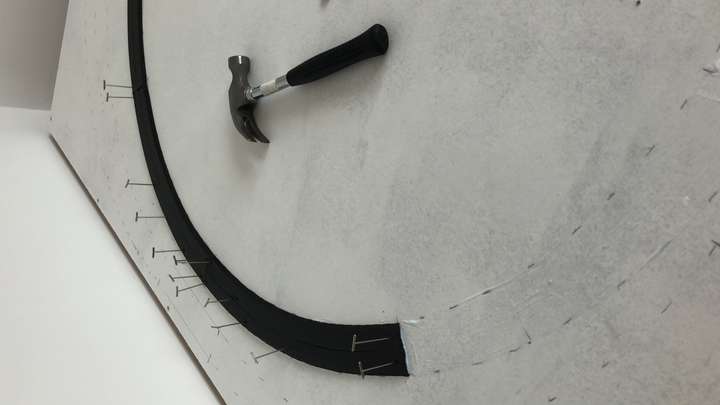
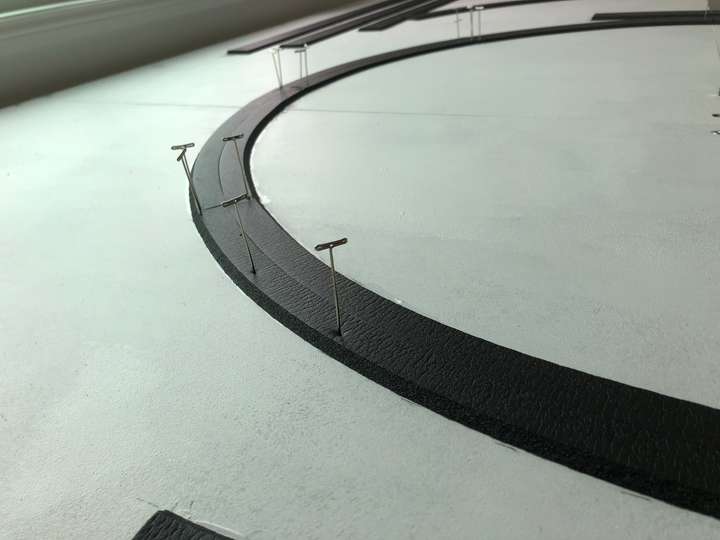
The next step was to lay track bed. There are many different options for that, using cork, foam bed, or just fully making it yourself with model ballast. I decided to use foam for the time being, which will later be ballasted. Foam track bed can be bought in individual sheets of about 60cm length, or on a roll. I initially bought two rolls of 7.3m each (24ft - hello imperial measurements). This was more of an intuitive decision, the sheets would have cost the same, but in hindsight I'm glad I got the rolls. Using rolls allowed me to cut the track bed pieces to the length I needed them to be. Straights could be laid in one long piece, while curves required shorter ones. This way, I did not have a lot of off-cuts or leftovers. After two rolls were finished, I had maybe 30cm in wastage.
Manufacturers of scenic materials usually also recommend their own glue concoctions to fix things to other things. The crowd that makes the foam track bed (among many other things) have several different glues for foam, ballast and such. While those may or may not make things easier, they generally tend to be expensive. After a bit of research, I decided to forego the magic stuff and go with simple PVA (white glue, wood glue). I applied a thin layer of PVA to the board, let it develop some tack, and then put the foam bed on top of it. This worked surprisingly well, with the bed sticking to the board immediately. It would take a short while to dry, during which the ends of the bed needed to be held down with nails or heavy items.
In curves, it was necessary to cut the bed along its length, to allow for easier bending and flexing. This is easy enough as long as the knife is sharp and you use a metal ruler or similar.
Using PVA also has another advantage: it holds the foam in place, but does not destroy it when you try to pull it off again. In fact, the foam peels off easily, which makes it easier to correct things while it's still possible, and also to reuse pieces of the track bed if ever necessary.
Since I am planning to use underboard point motors, I had to prepare for that while laying the track. There are twelve points on the layout, and it may be necessary for me to buy the motors in batches. But since the motors require a hole beneath the point, I can hardly pick up the track later on and do that. So for now, I marked the position of the point's tie bars, then drilled a 10mm hole through the baseboard, and put the point back in place. This way, once I am ready to install the motors, I know where to position them and can leave the track in place.
At this time, the track for the outer and inner ovals and the yard is fully bedded and in place. I have started wiring up these track sections and testing them - but that's for another post. Stay tuned.

