Well over two years ago, I wrote about the conclusion of my quest to find point motors. At the time, the Cobalt motors became the solution of choice. But of course, that couldn’t have been the end of it.
Why not? Because a bigger layout was always in the cards. And while the Cobalts were a good solution at the time, that solution wasn’t going to scale well. Due to a unit price of now $50 Australian ($37.50 if bought in a set of 12), they are simply very costly. Once I had determined the new track plan, with a grand total of 31 points, I gulped twice and shelved the idea of buying more of these motors.
Or any other bespoke point motors, for that matter. There are a few options, but none of them are suitable for people with small budgets, at least not in quantities. With time, the solution became more obvious: servos.
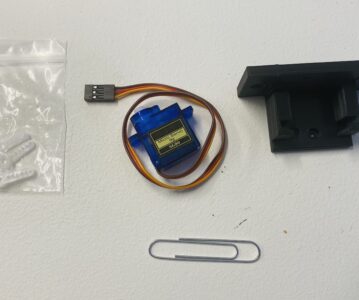
The SG90 servo is ubiquitous, affordable, and has a good reputation. Decoder options for operating servos are numerous, and ranging from very affordable to luxurious. Servos are strong enough to throw points with over-centre springs, something the Cobalts couldn’t do. This has advantages and drawbacks – the spring guarantees a snug alignment of the point’s end positions, but leaving it in place sacrifices the slow, smooth point movement.
But there are a few more things to consider when using servos. Where bespoke motors are built specifically to be mounted below board or next to railway track, servos are more universal and therefore need mounts suited for the intended purpose. Bespoke motors usually come either with built-in digital capability, or are operated by regular accessory decoders. Servos on the other hand, due to the way they operate with PWM pulses on the signal connector, need specific decoders to be operated.
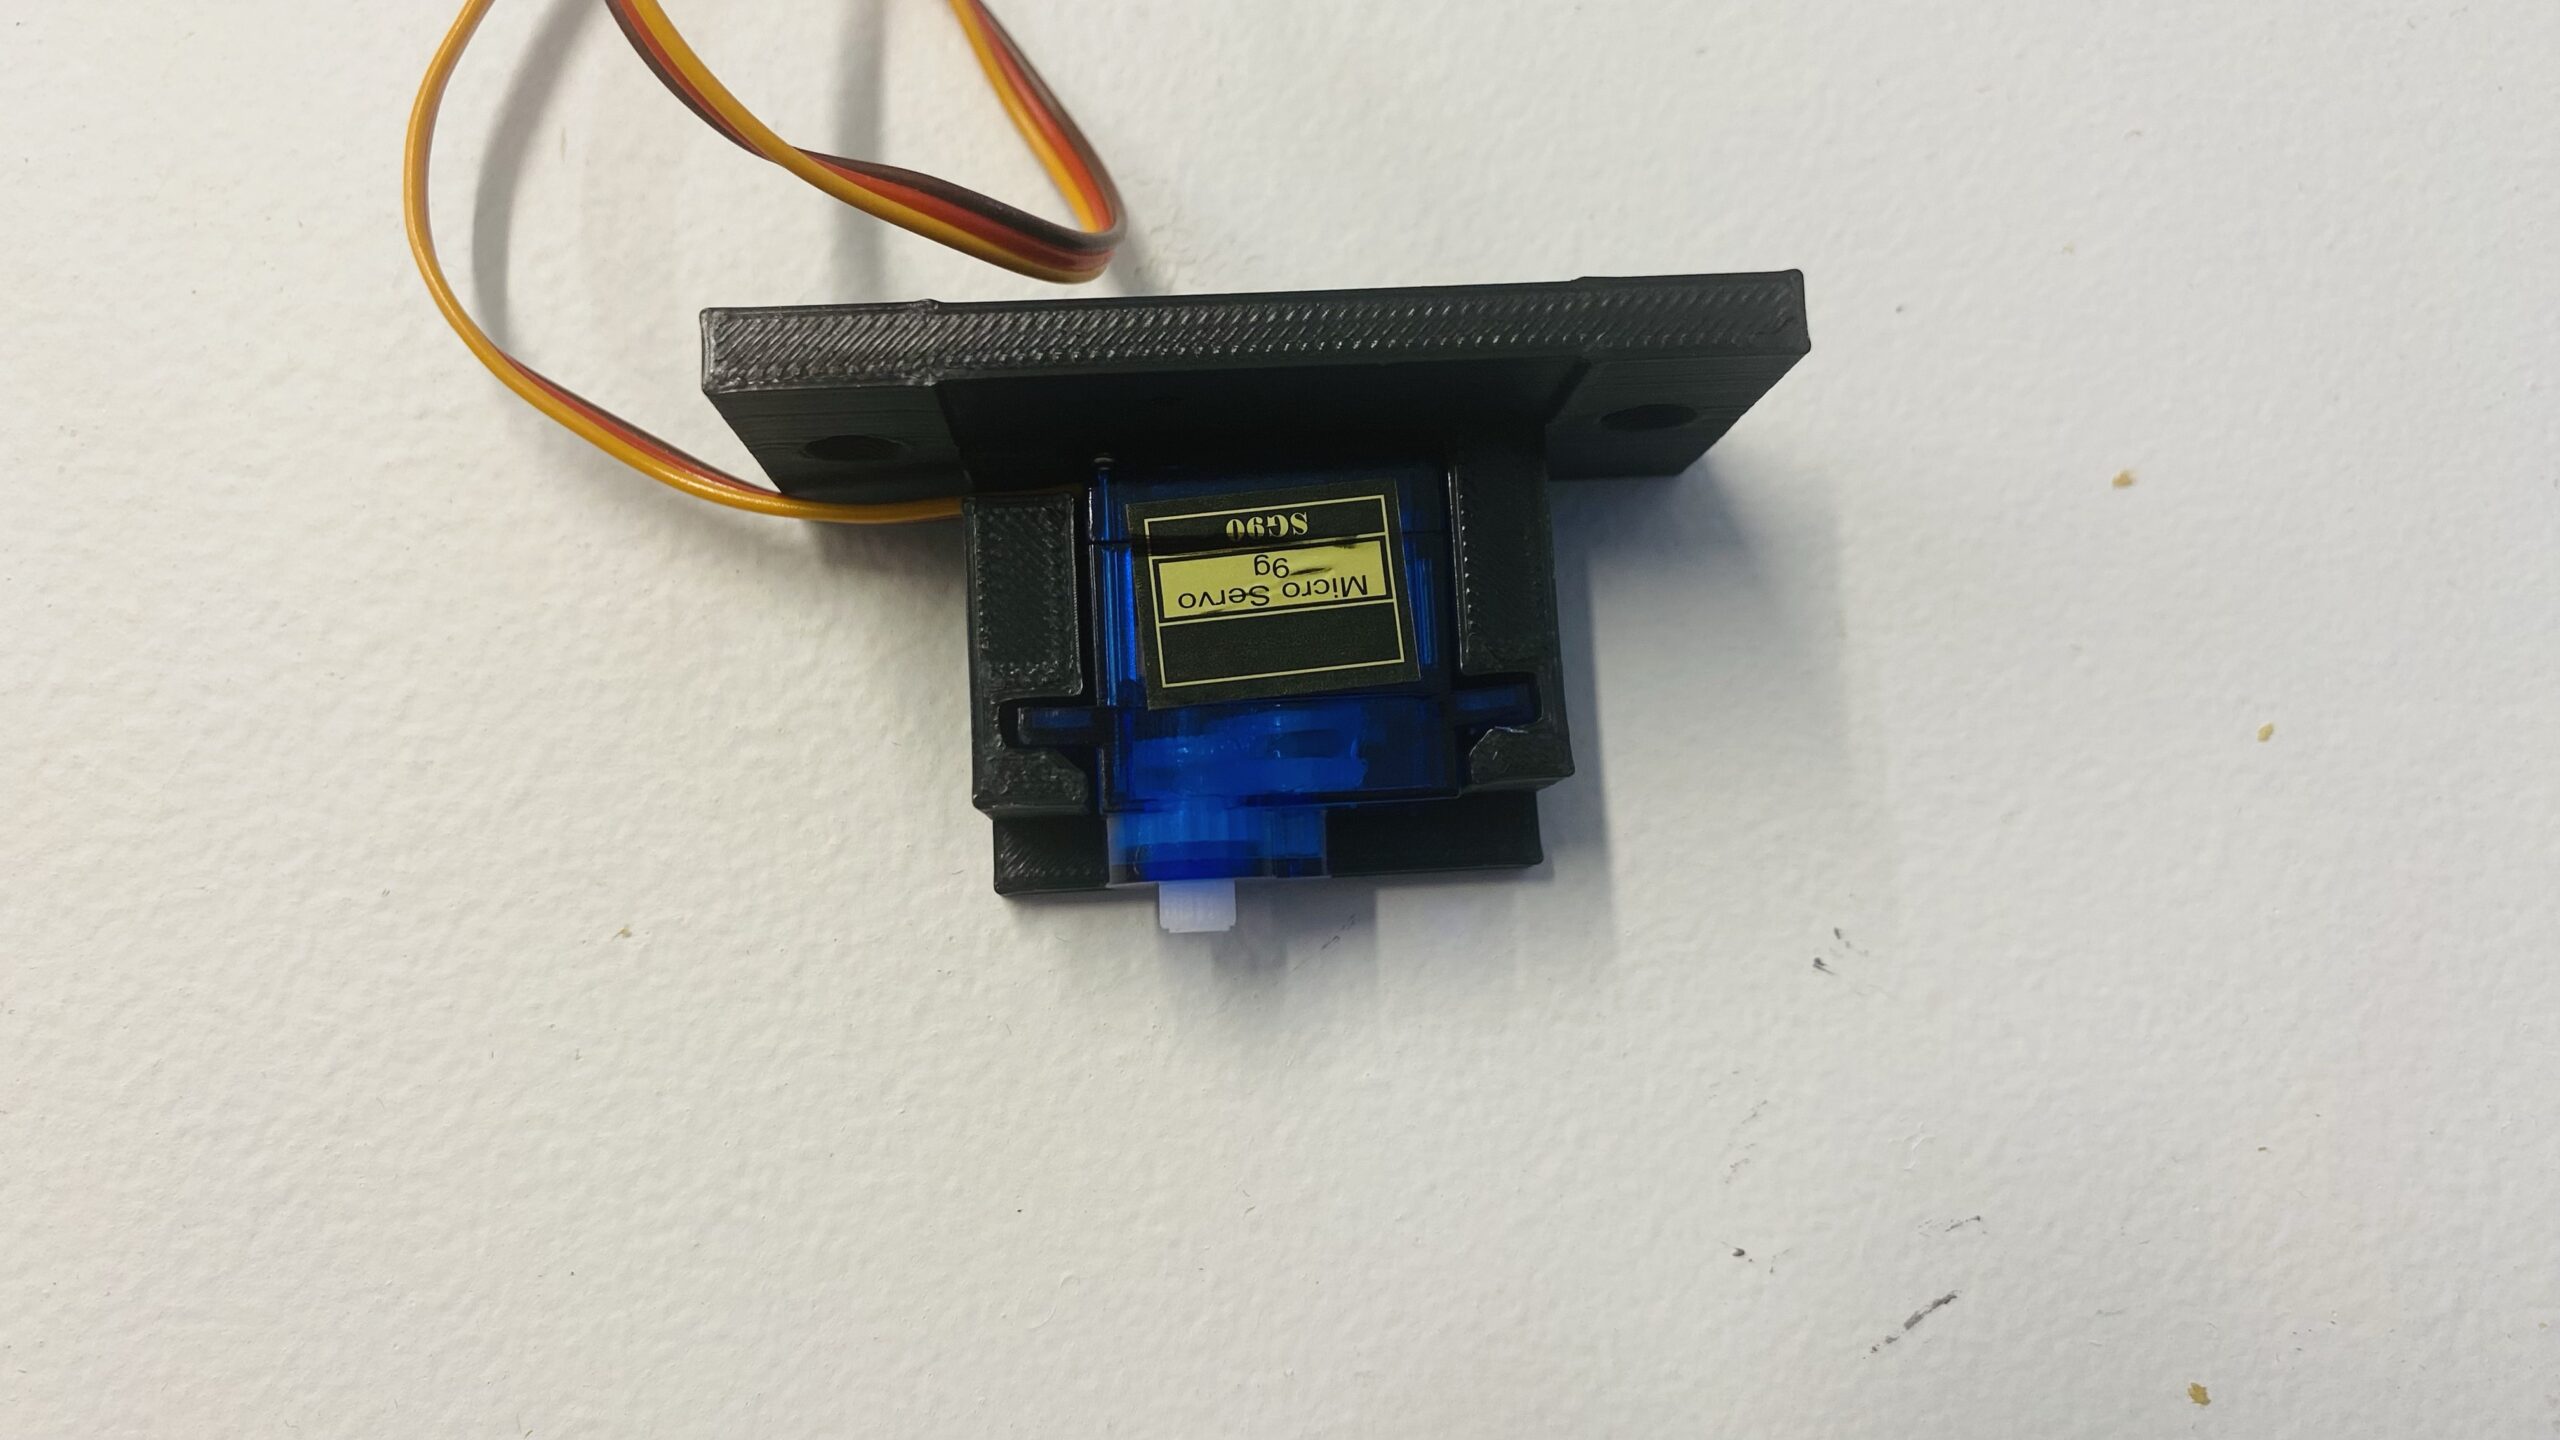
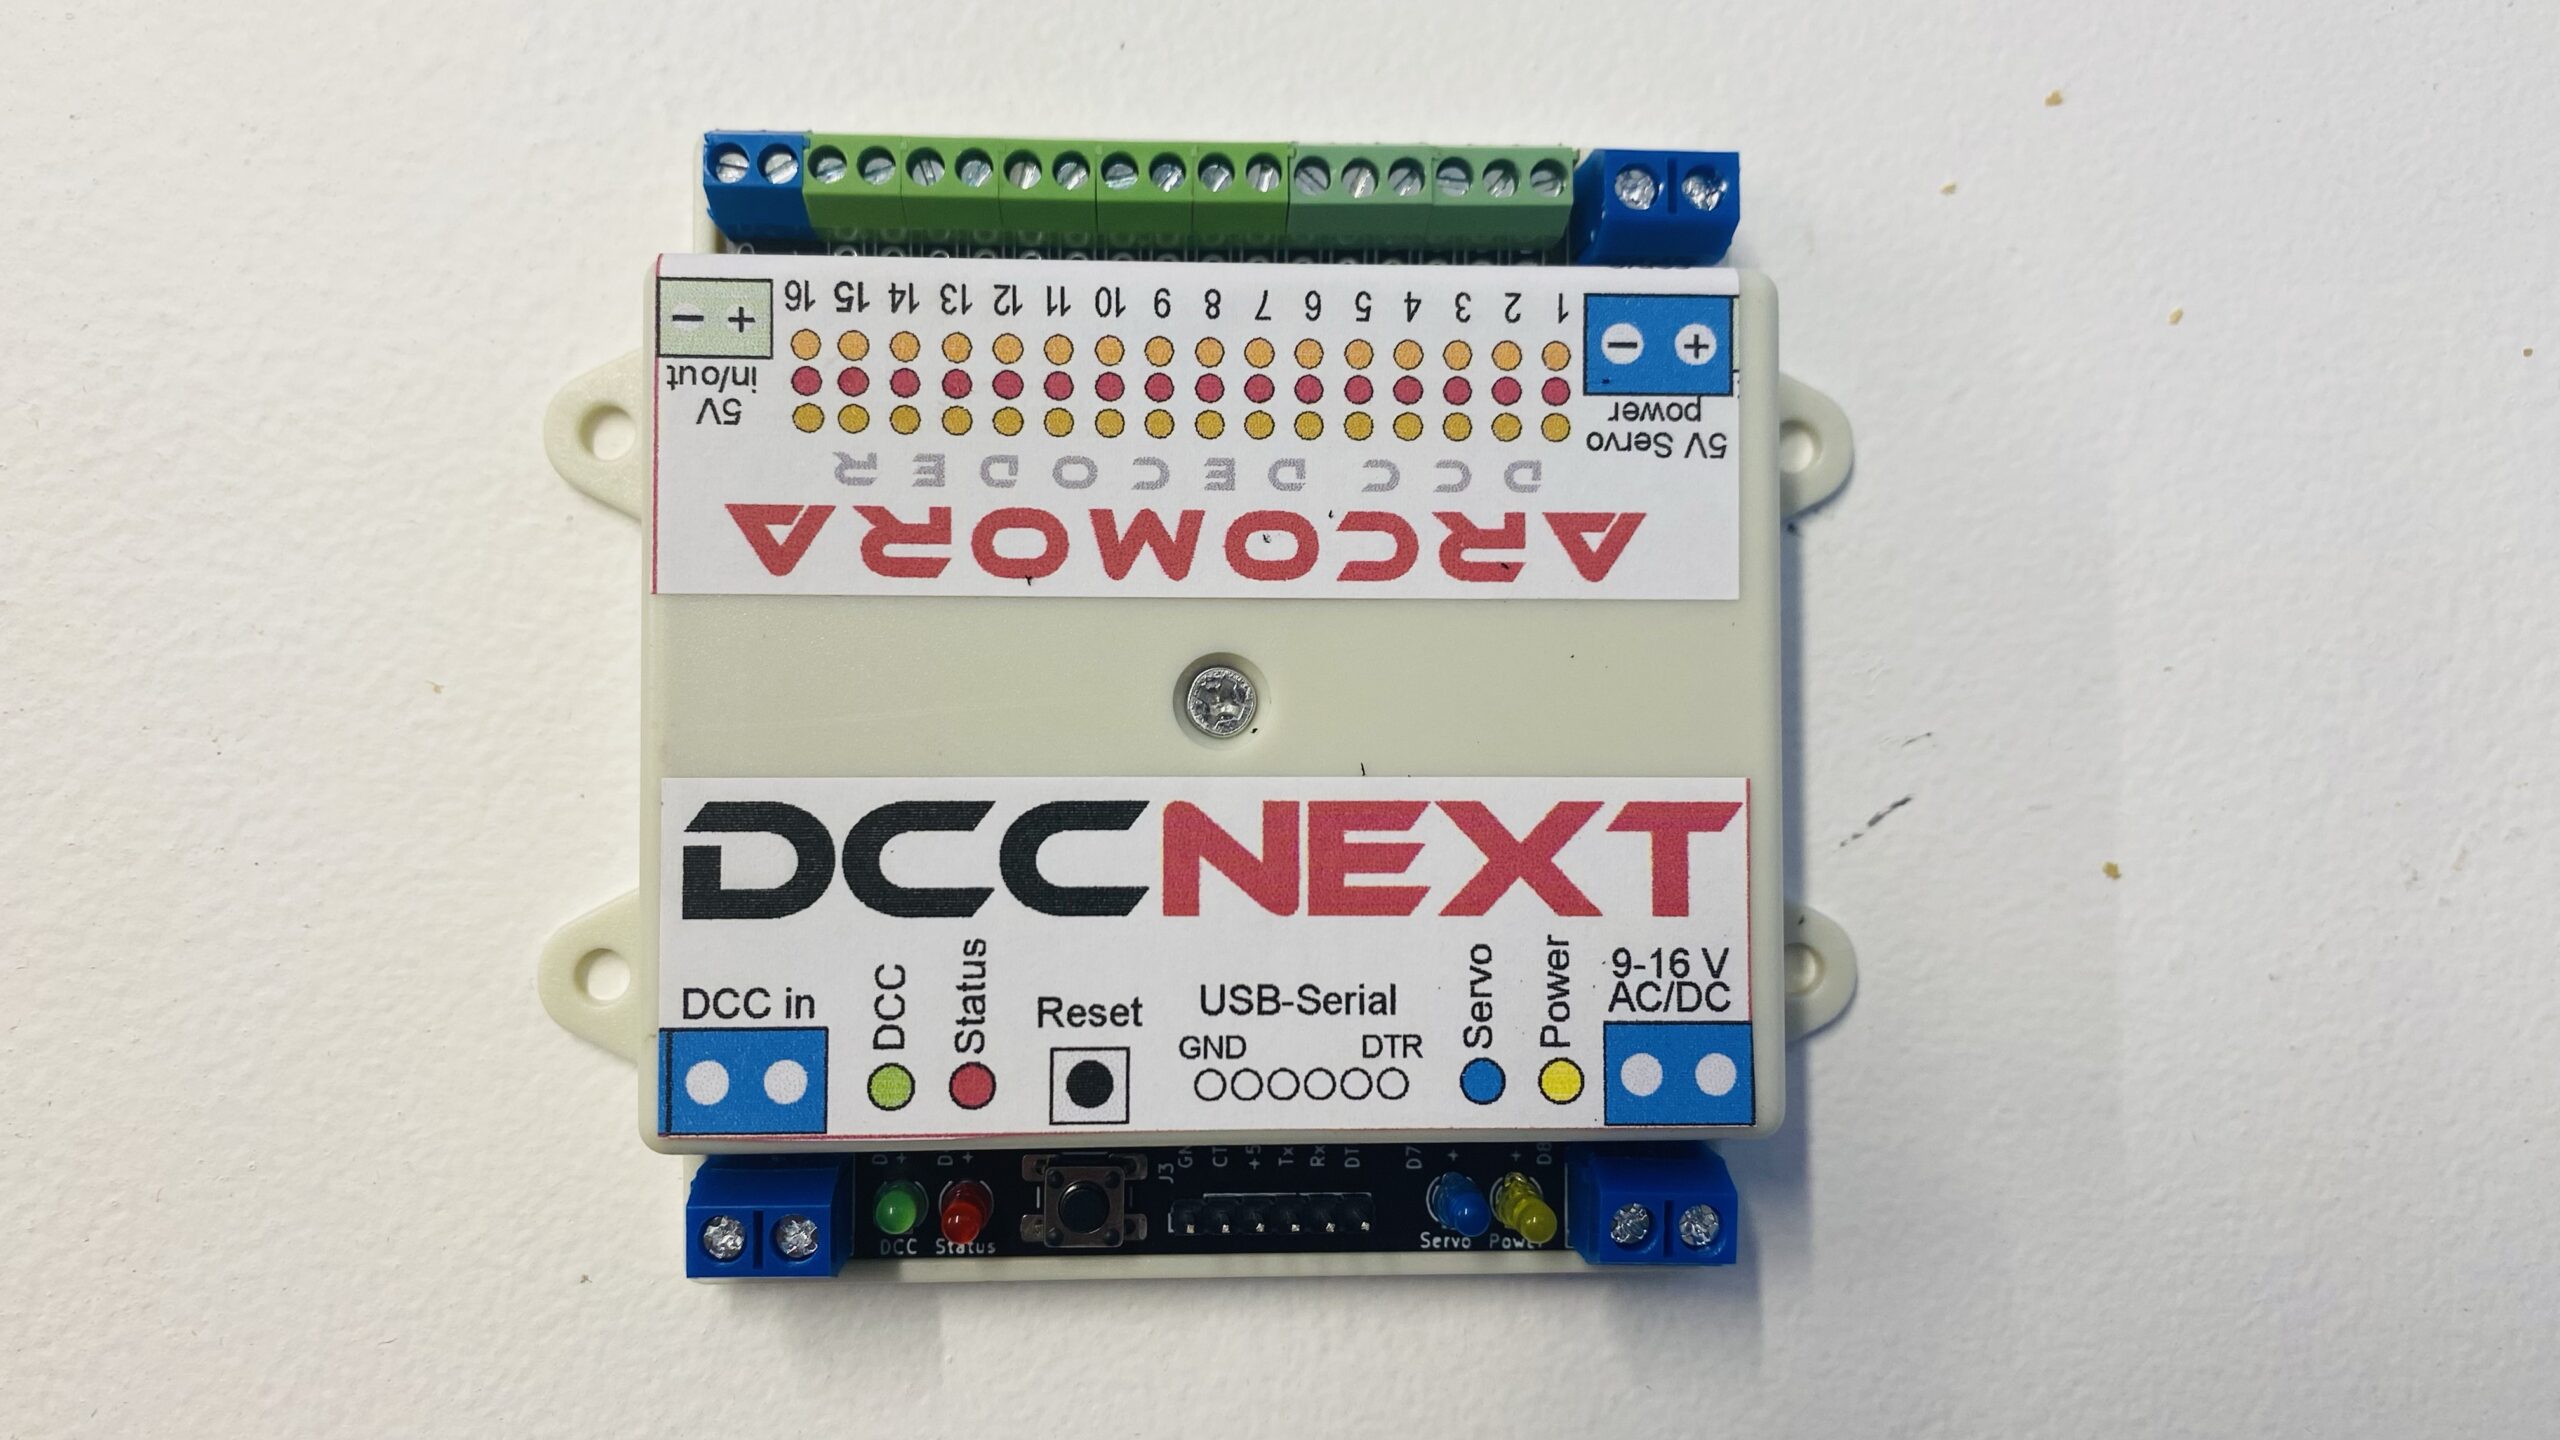
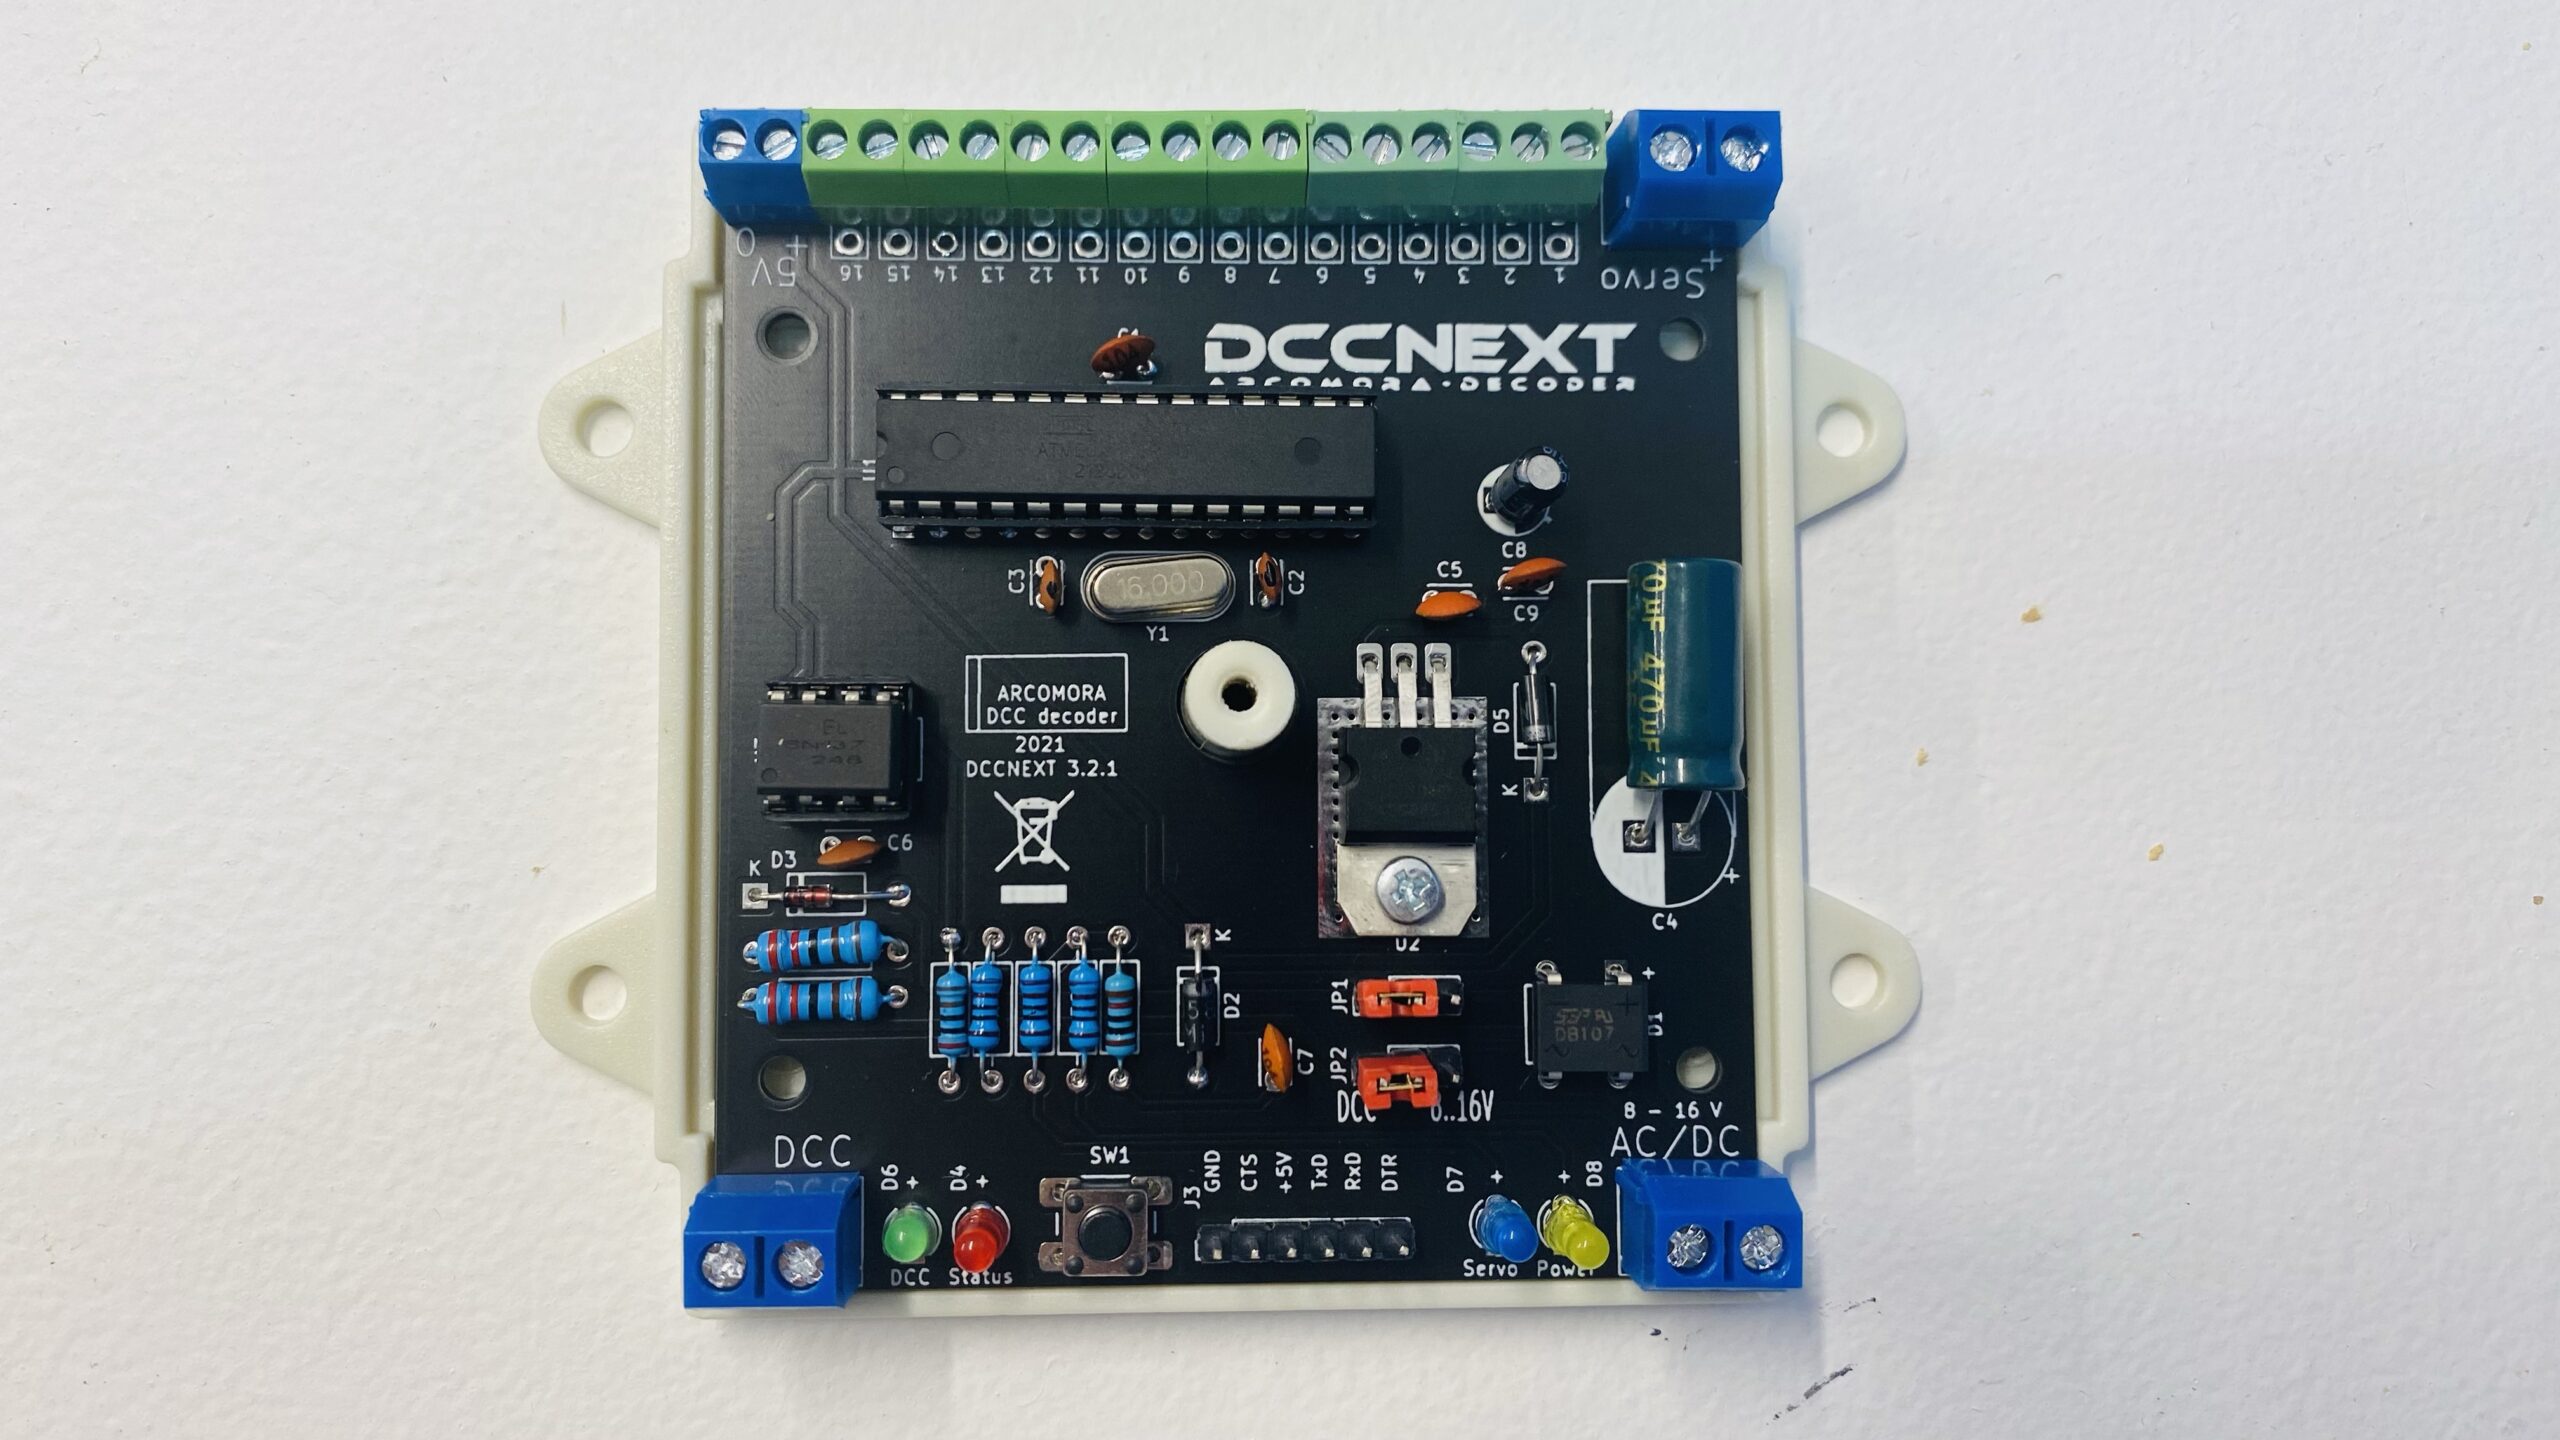
I researched all those things at length before I took the plunge. Some manufacturers offer servo decoders as part of their range, but there are also a number of homebrew solutions. I ended up going with a familiar option. In previously conducted feedback experiments I used the ArLoco shield provided by the ArCoMoRa project. The same project also makes the Mardec software, another Arduino-based solution for the control of accessories and LEDs. This software, like the ArLoco, works with a custom Arduino shield, but it can also be used with the ArCoMoRa DCCNext decoder. That decoder is effectively an all-in-one solution using the ATMEGA328P chip and a custom circuit. One DCCNext can control up to 12 servos, which is a darn sight more cost-effective than most bespoke servo controllers.
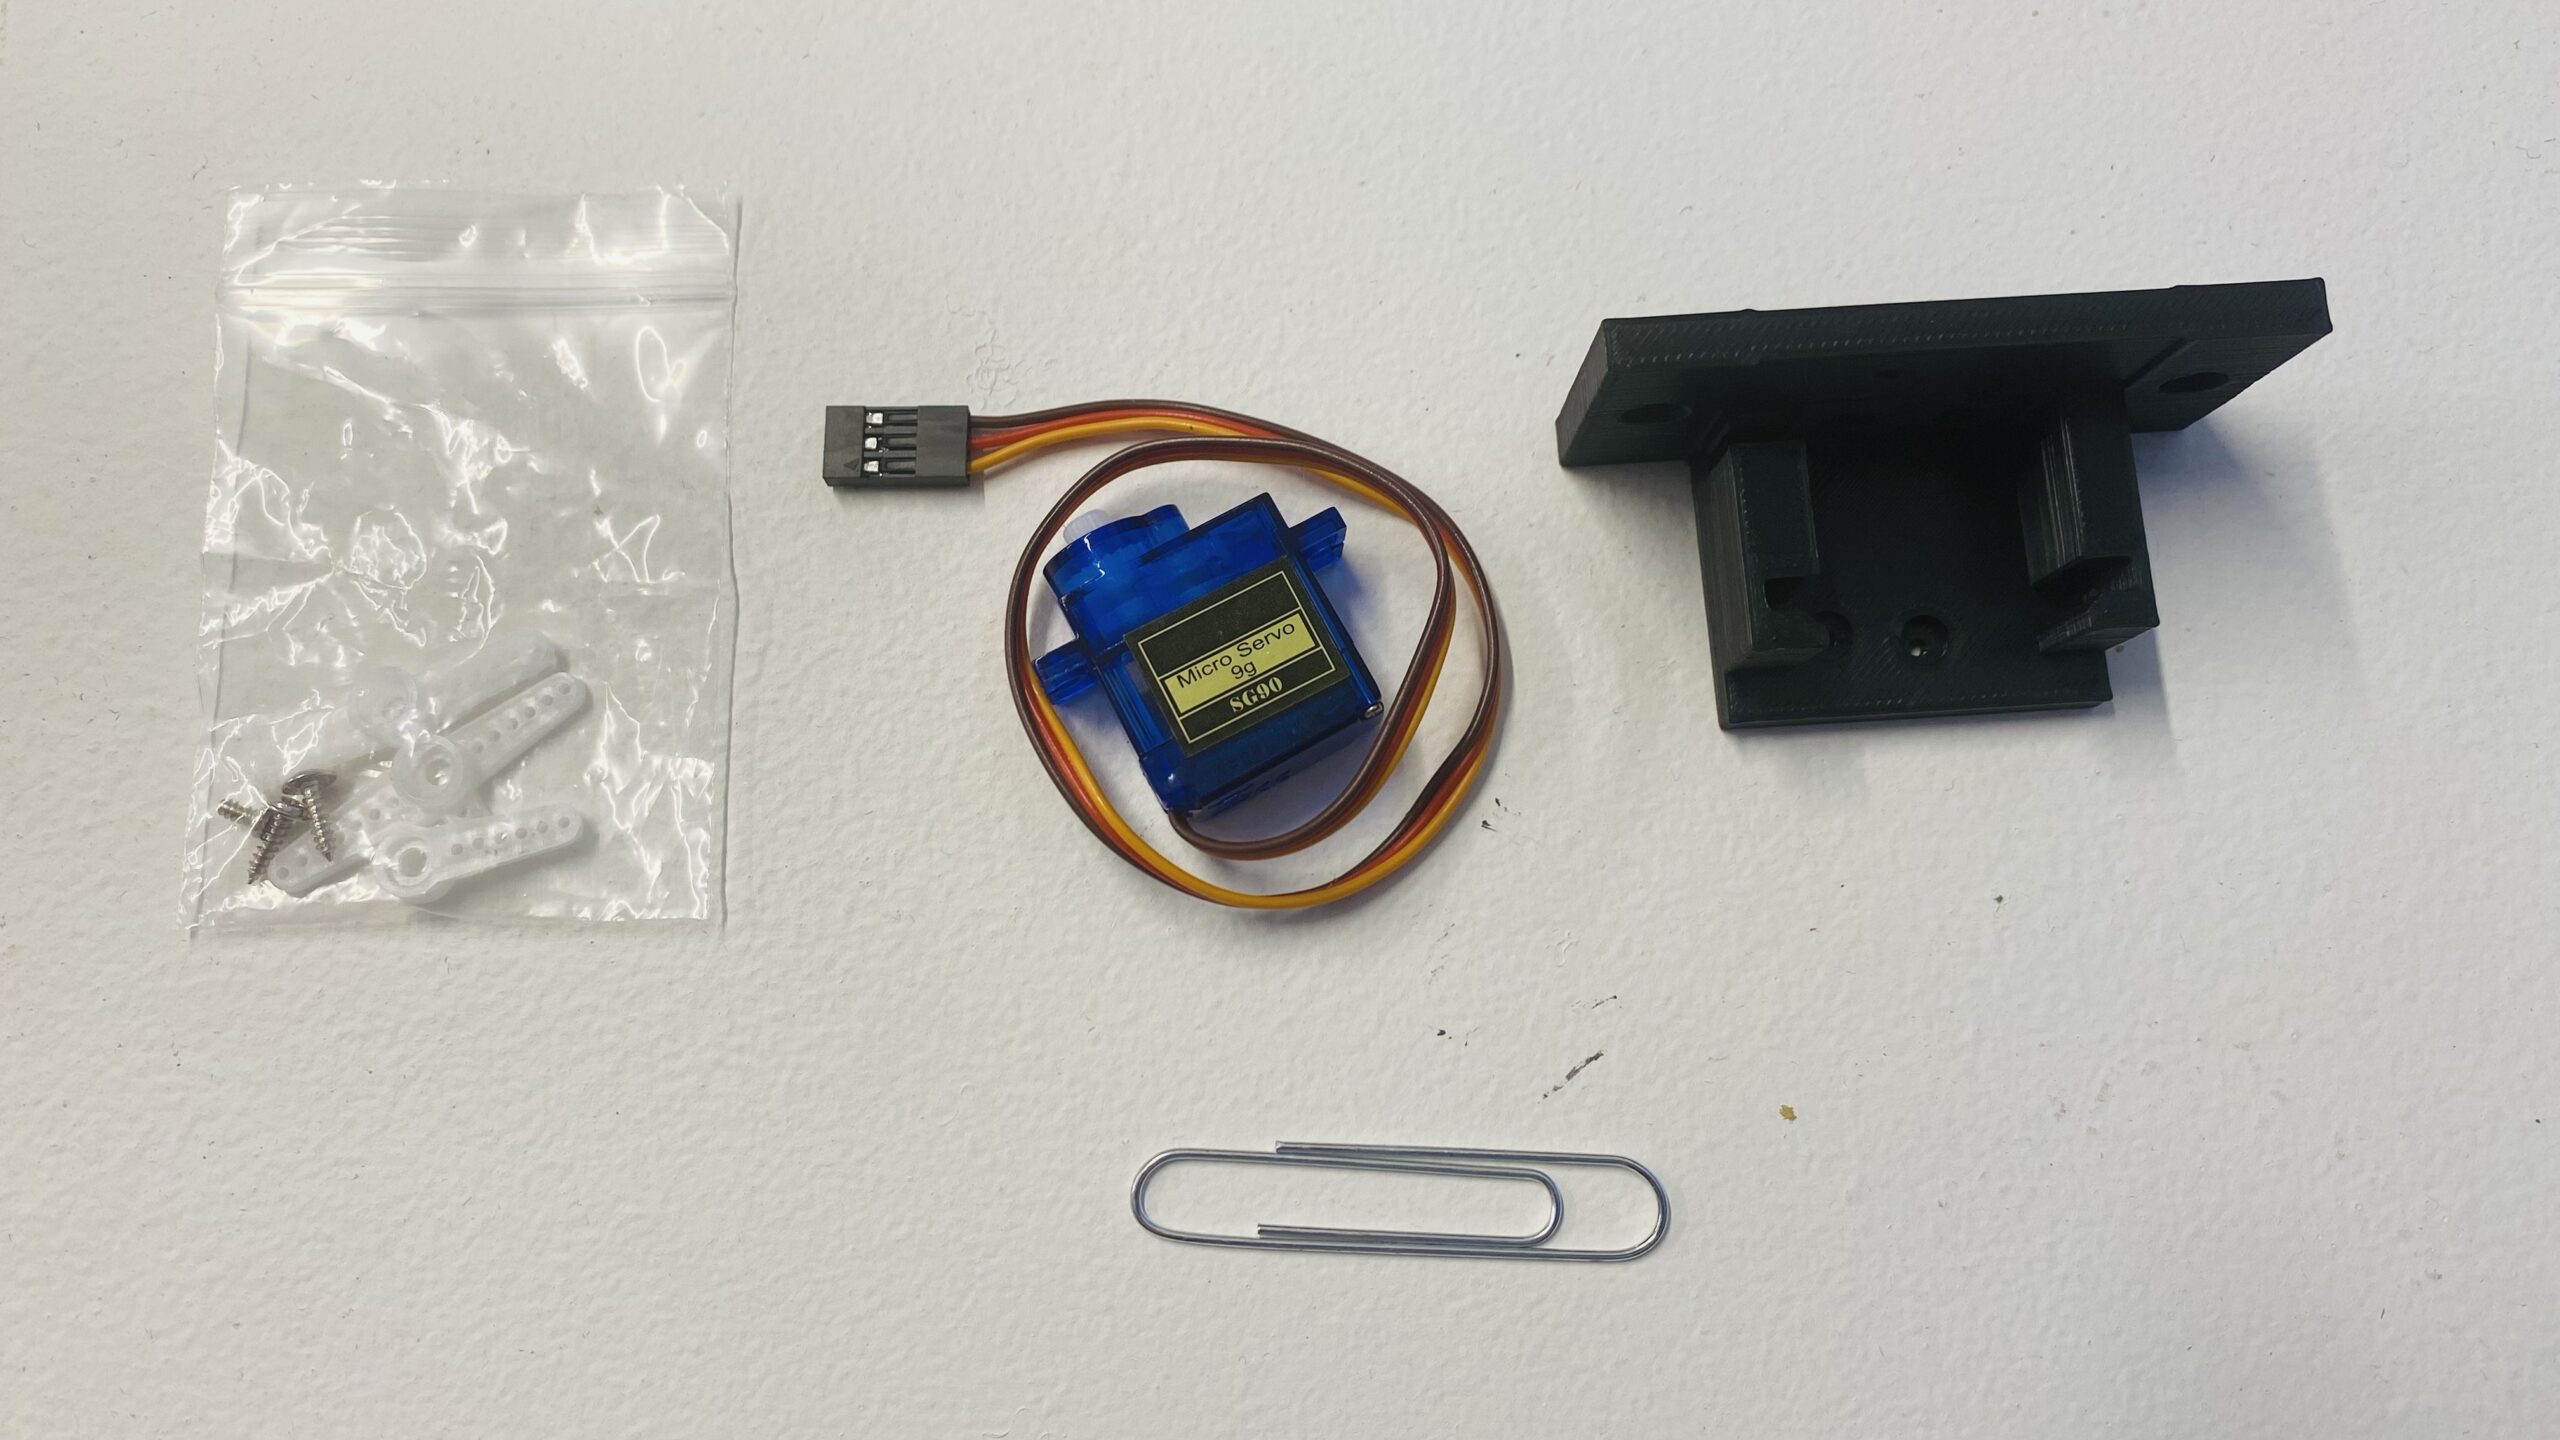
For the mount, it was mostly a case of exploring well-known 3D printing sites, and I found a mount that looked suitable and had informative pictures with it. I do not own a 3D printer, but a friend of mine printed a whole stack of these mounts for me, enough to cover all my planned points and have a few spares. The mounts came out great, the SG90 servos fit very snugly.
As far as the throw wires are concerned, a number of different opinions can be found. The Cobalt motors use piano wire or spring steel wire, and some people recommend using the same for servos. These throw wires have a bit of flexibility and therefore exert more force on the tie bar, keeping the blades securely in their end position. Others say that it is sufficient to use regular steel or even brass wire, as long as it is stiff enough. For starters, I decided to experiment with straightened paper clips – that kind of steel wire is not springy, but easy enough to bend into shape.

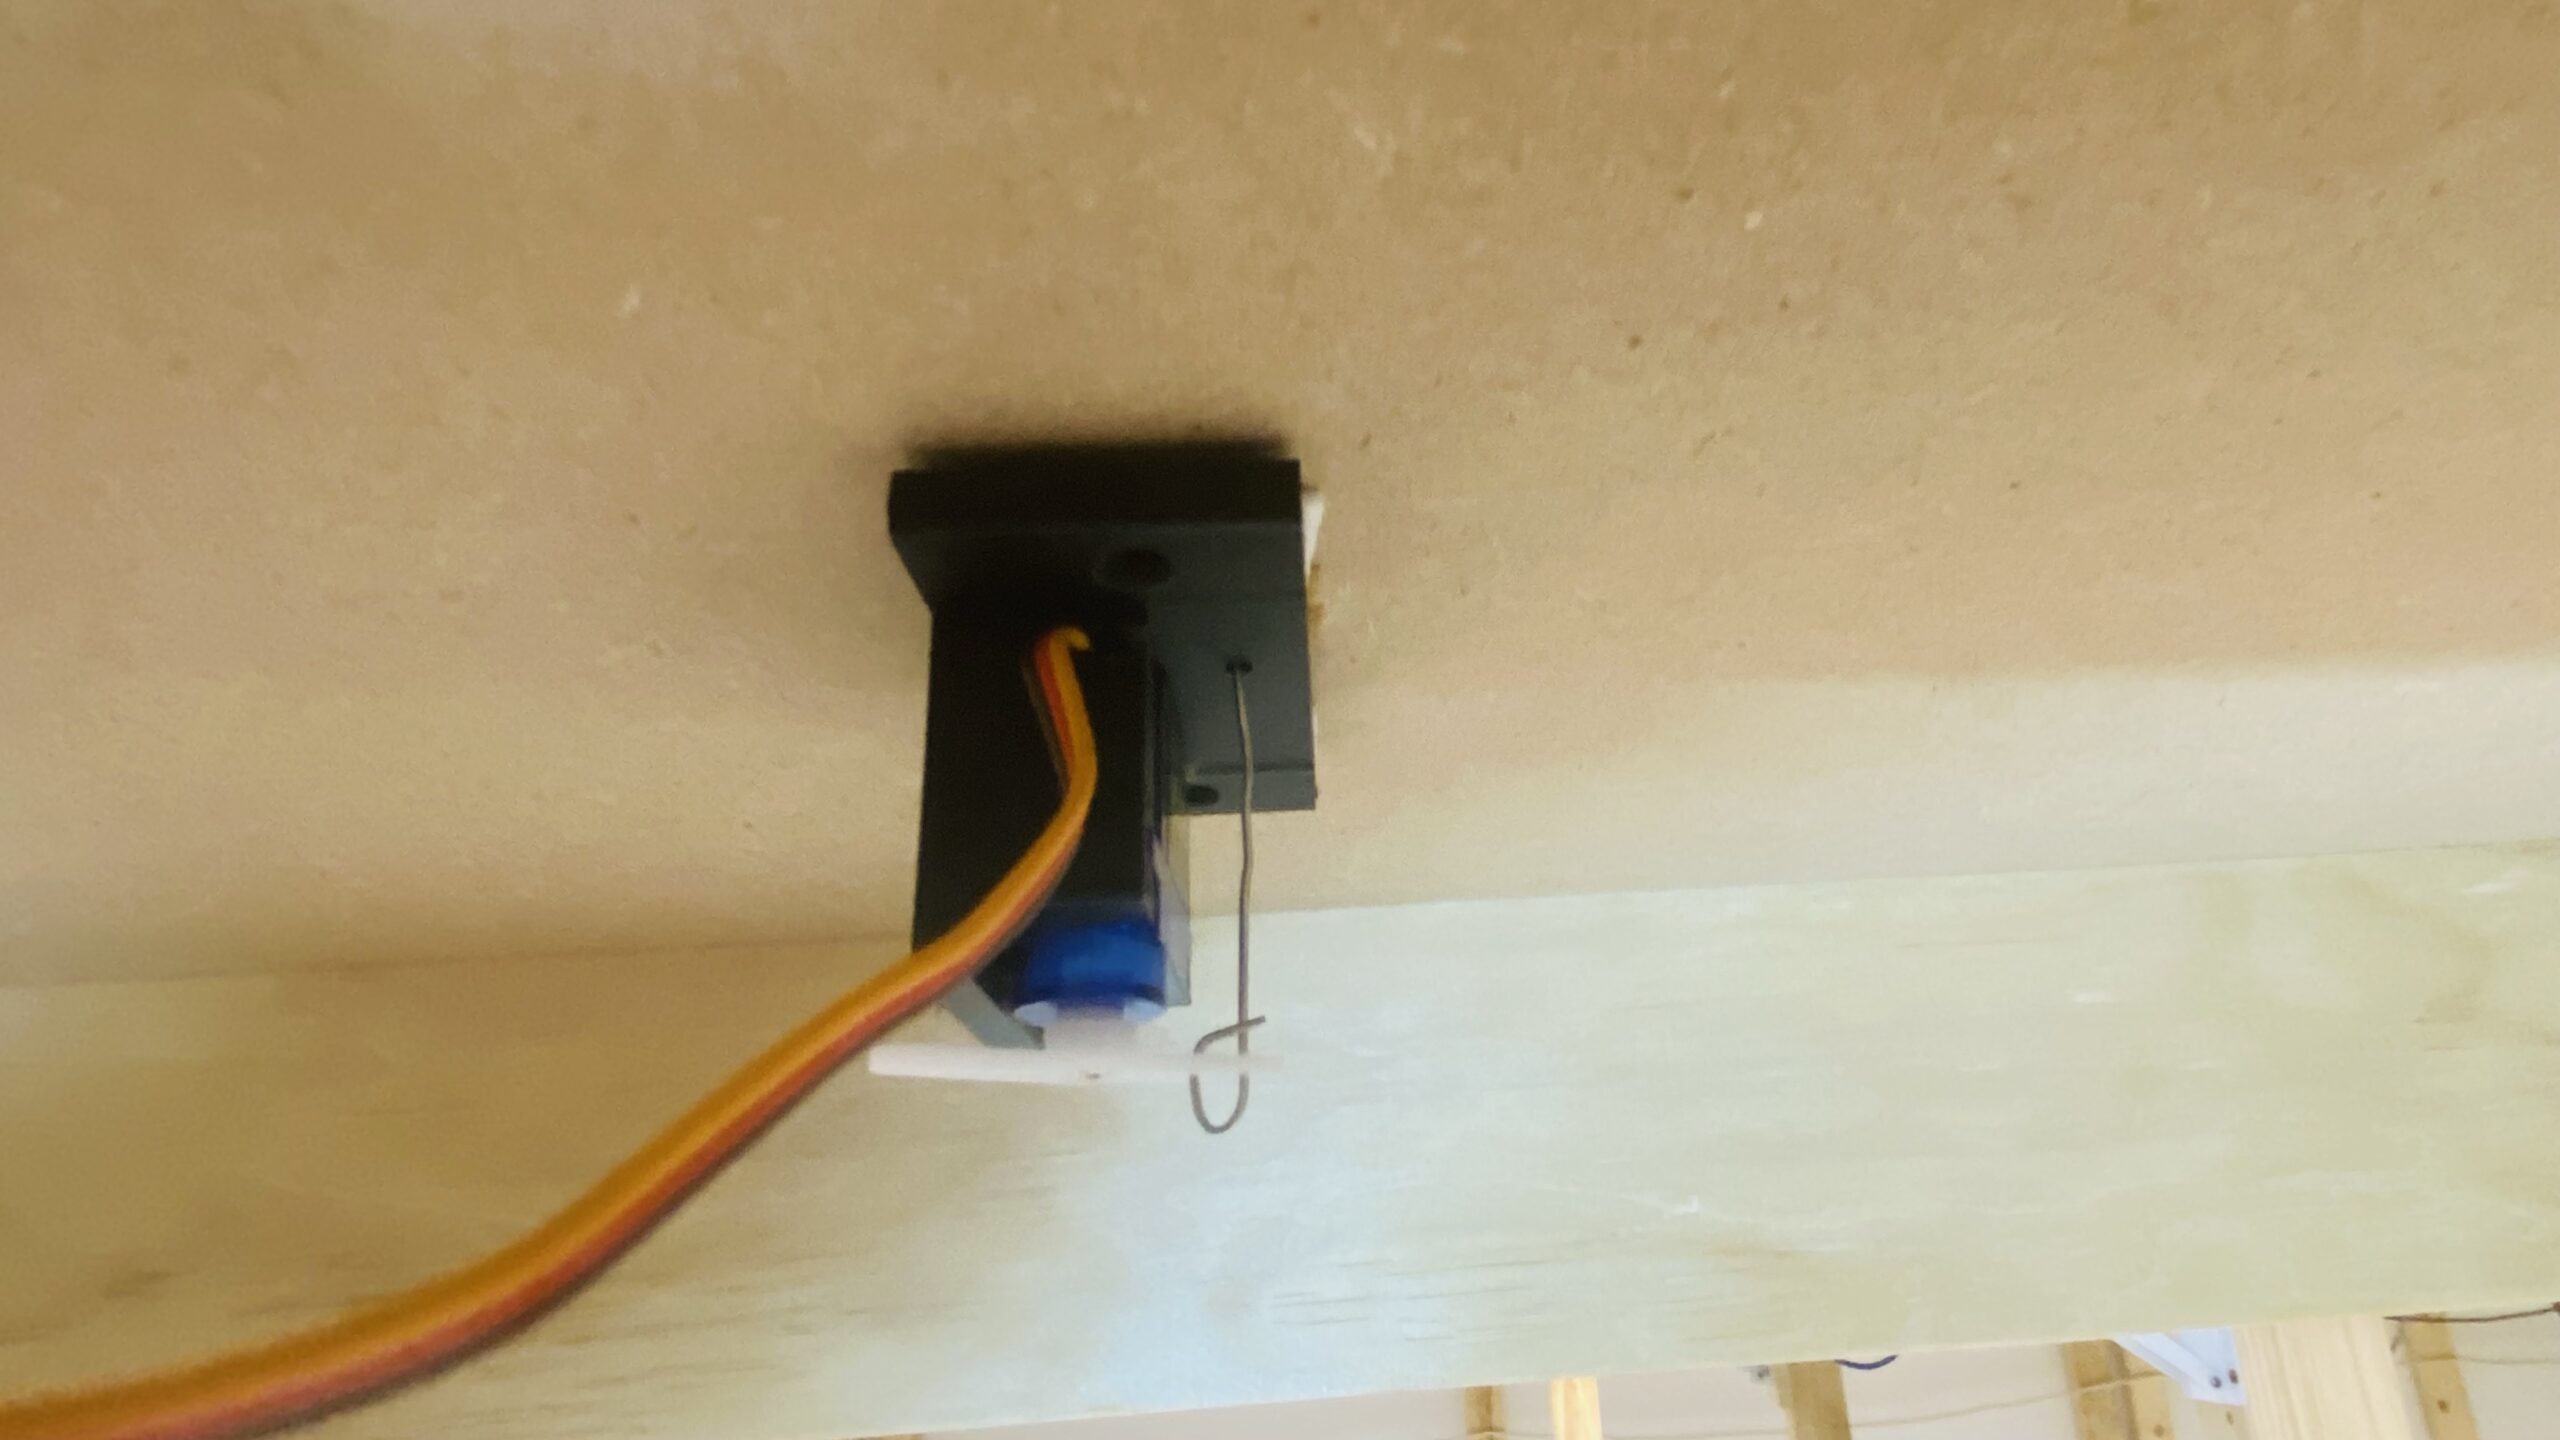
Installing these servos is reasonably easy, but with the track already in place it requires partial track removal. First I mark out the centre position of the tie bar. After removal of the point, a 10mm hole is drilled through the base board. The servo mount is installed centre-on below that hole, and the throw wire is guided through the hole. Lastly, the point is replaced with the throw wire going through the tie bar centre hole.
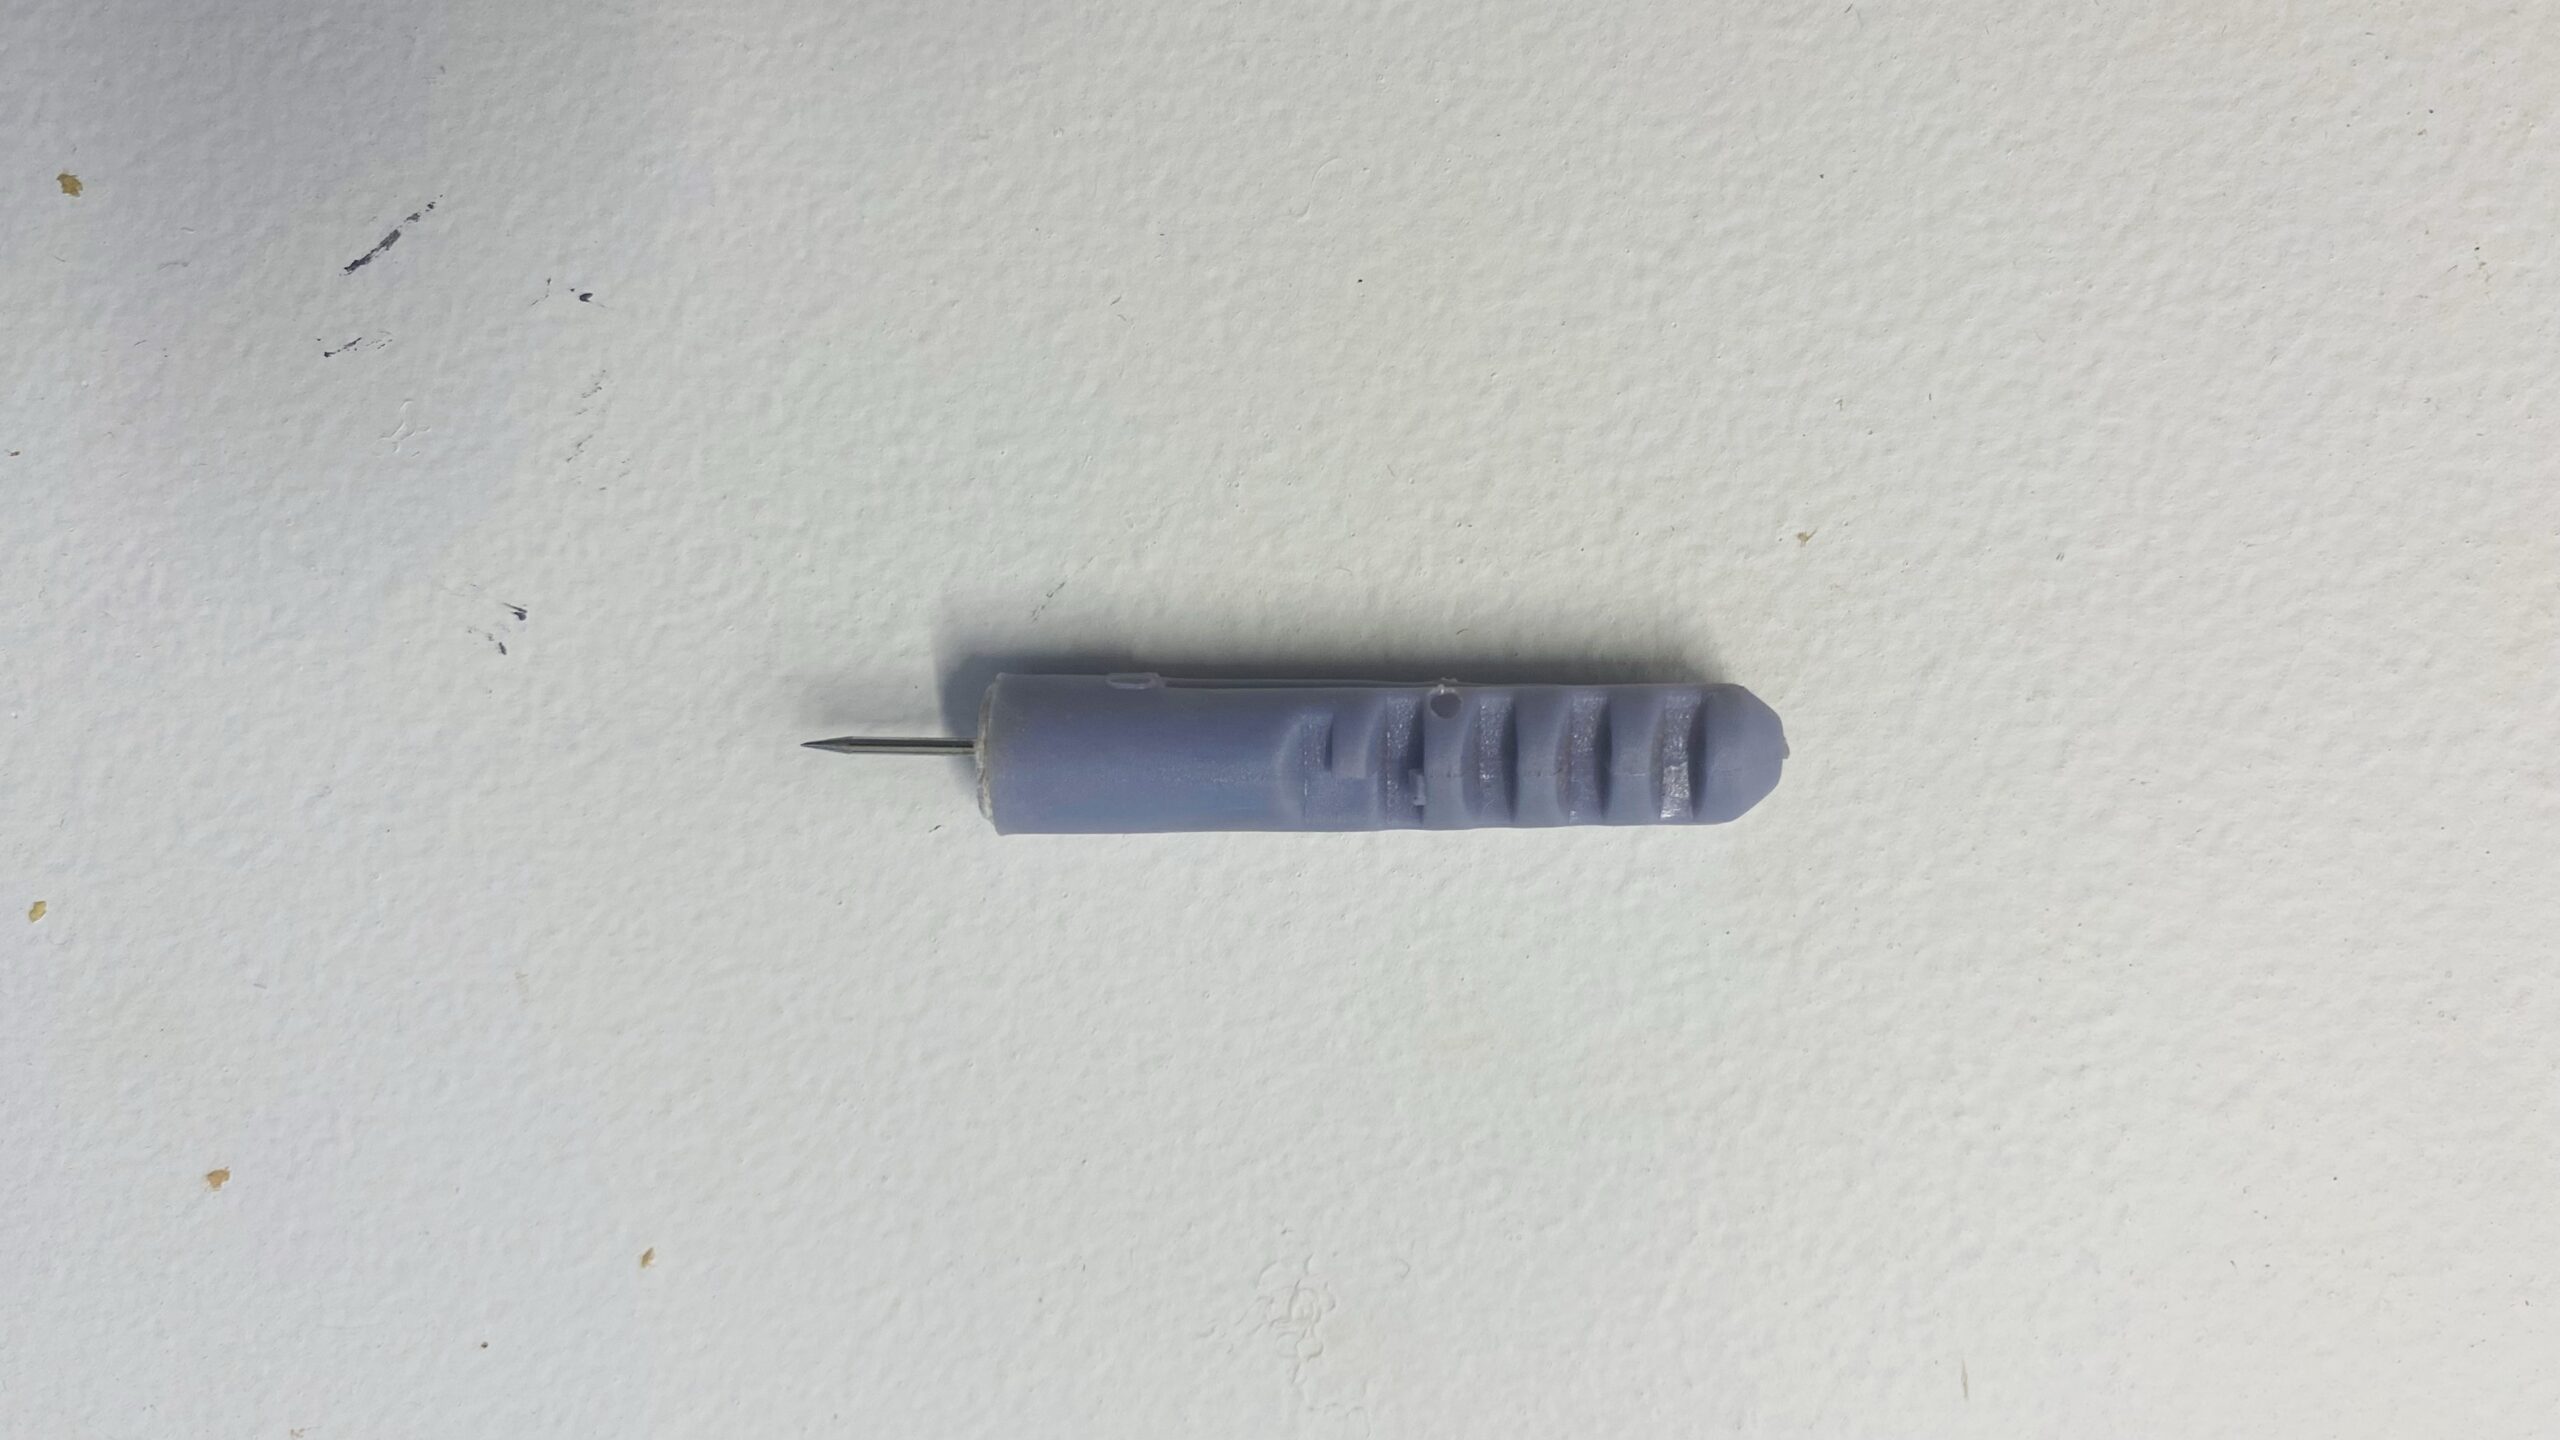
There was a small snag though. Due to the shape of the mounts, it isn’t easy to tell whether it is centred in relation to the hole in the baseboard – at least not unless you can be both above and below the table at the same time. Since I tend to stick the mounts in place with double-sided tape, I needed an aid. After trying a few things, I combined a push pin and a 10mm plastic wall plug (normally used to anchor screws in masonry). This centring aid is guided through the hole from the bottom. The fulcrum hole in the servo mount then goes onto the pin. Once everything is in place, the centring aid is removed from the top before reinstalling the point. This has worked very well in the installs I’ve done so far.
With the DCCNext decoder, I had the option to connect all three servo pins directly to the decoder, or to only connect the signal wire, while feeding the servos from a separate 5V bus. I opted for the latter, because it makes wiring somewhat easier. The 5V bus has to go around most of the layout anyway, so feeder wires from the bus to the servos will be quite short. The signal wires appear to be able to handle some length – 4m of wire salvaged from a Cat5 network cable between the servo and the controller have been issue-free so far.
The first thing I noticed after installing a few servos and operating them was how utterly quiet they are. The Cobalts always made an ungodly noise when switching, which was usually amplified by the baseboard and could even be heard over the running noise of trains. The servos make barely a sound, certainly nothing that will be heard once trains are going. That almost makes it useful to leave the centre springs in place, since their snap gives a bit of an audible confirmation that the point has actually switched.
The following short video clip shows the throwing action from above.
Thanks for providing so much detailed description!