The First Table(top)

At the moment, we are living with some space constraints. The rooms in our house have fairly small footprints. So there isn't much space to build a sprawling model railway table at this time.
When we bought the first batch of materials, we repurposed our spare/guest room. Some time last year, I had picked up two old office desks on caster wheels, with fairly big tabletops (1800x750mm). They were lined up next to each other, and that was good enough to play around with the tracks and get the locos rolling, and work out some of the ins and outs of DCC, which I am completely new to.
However, when you have a double oval with four points or turnouts, you want to do a bit more than just let trains run in circles, and dashing around a 1800x1500 table (roughly 6x5ft for the metrically challenged) to manually operate a set of points gets old very quickly. So while I waited for the delivery of some point motors and an accessory decoder, I also contemplated what to do about a table. Point motors and other accessories need to be wired in, which is preferably done below the table or baseboard. However, those two office desks are made of material that would be very hard and messy to drill or cut through, and I didn't really want to ruin those tables either.
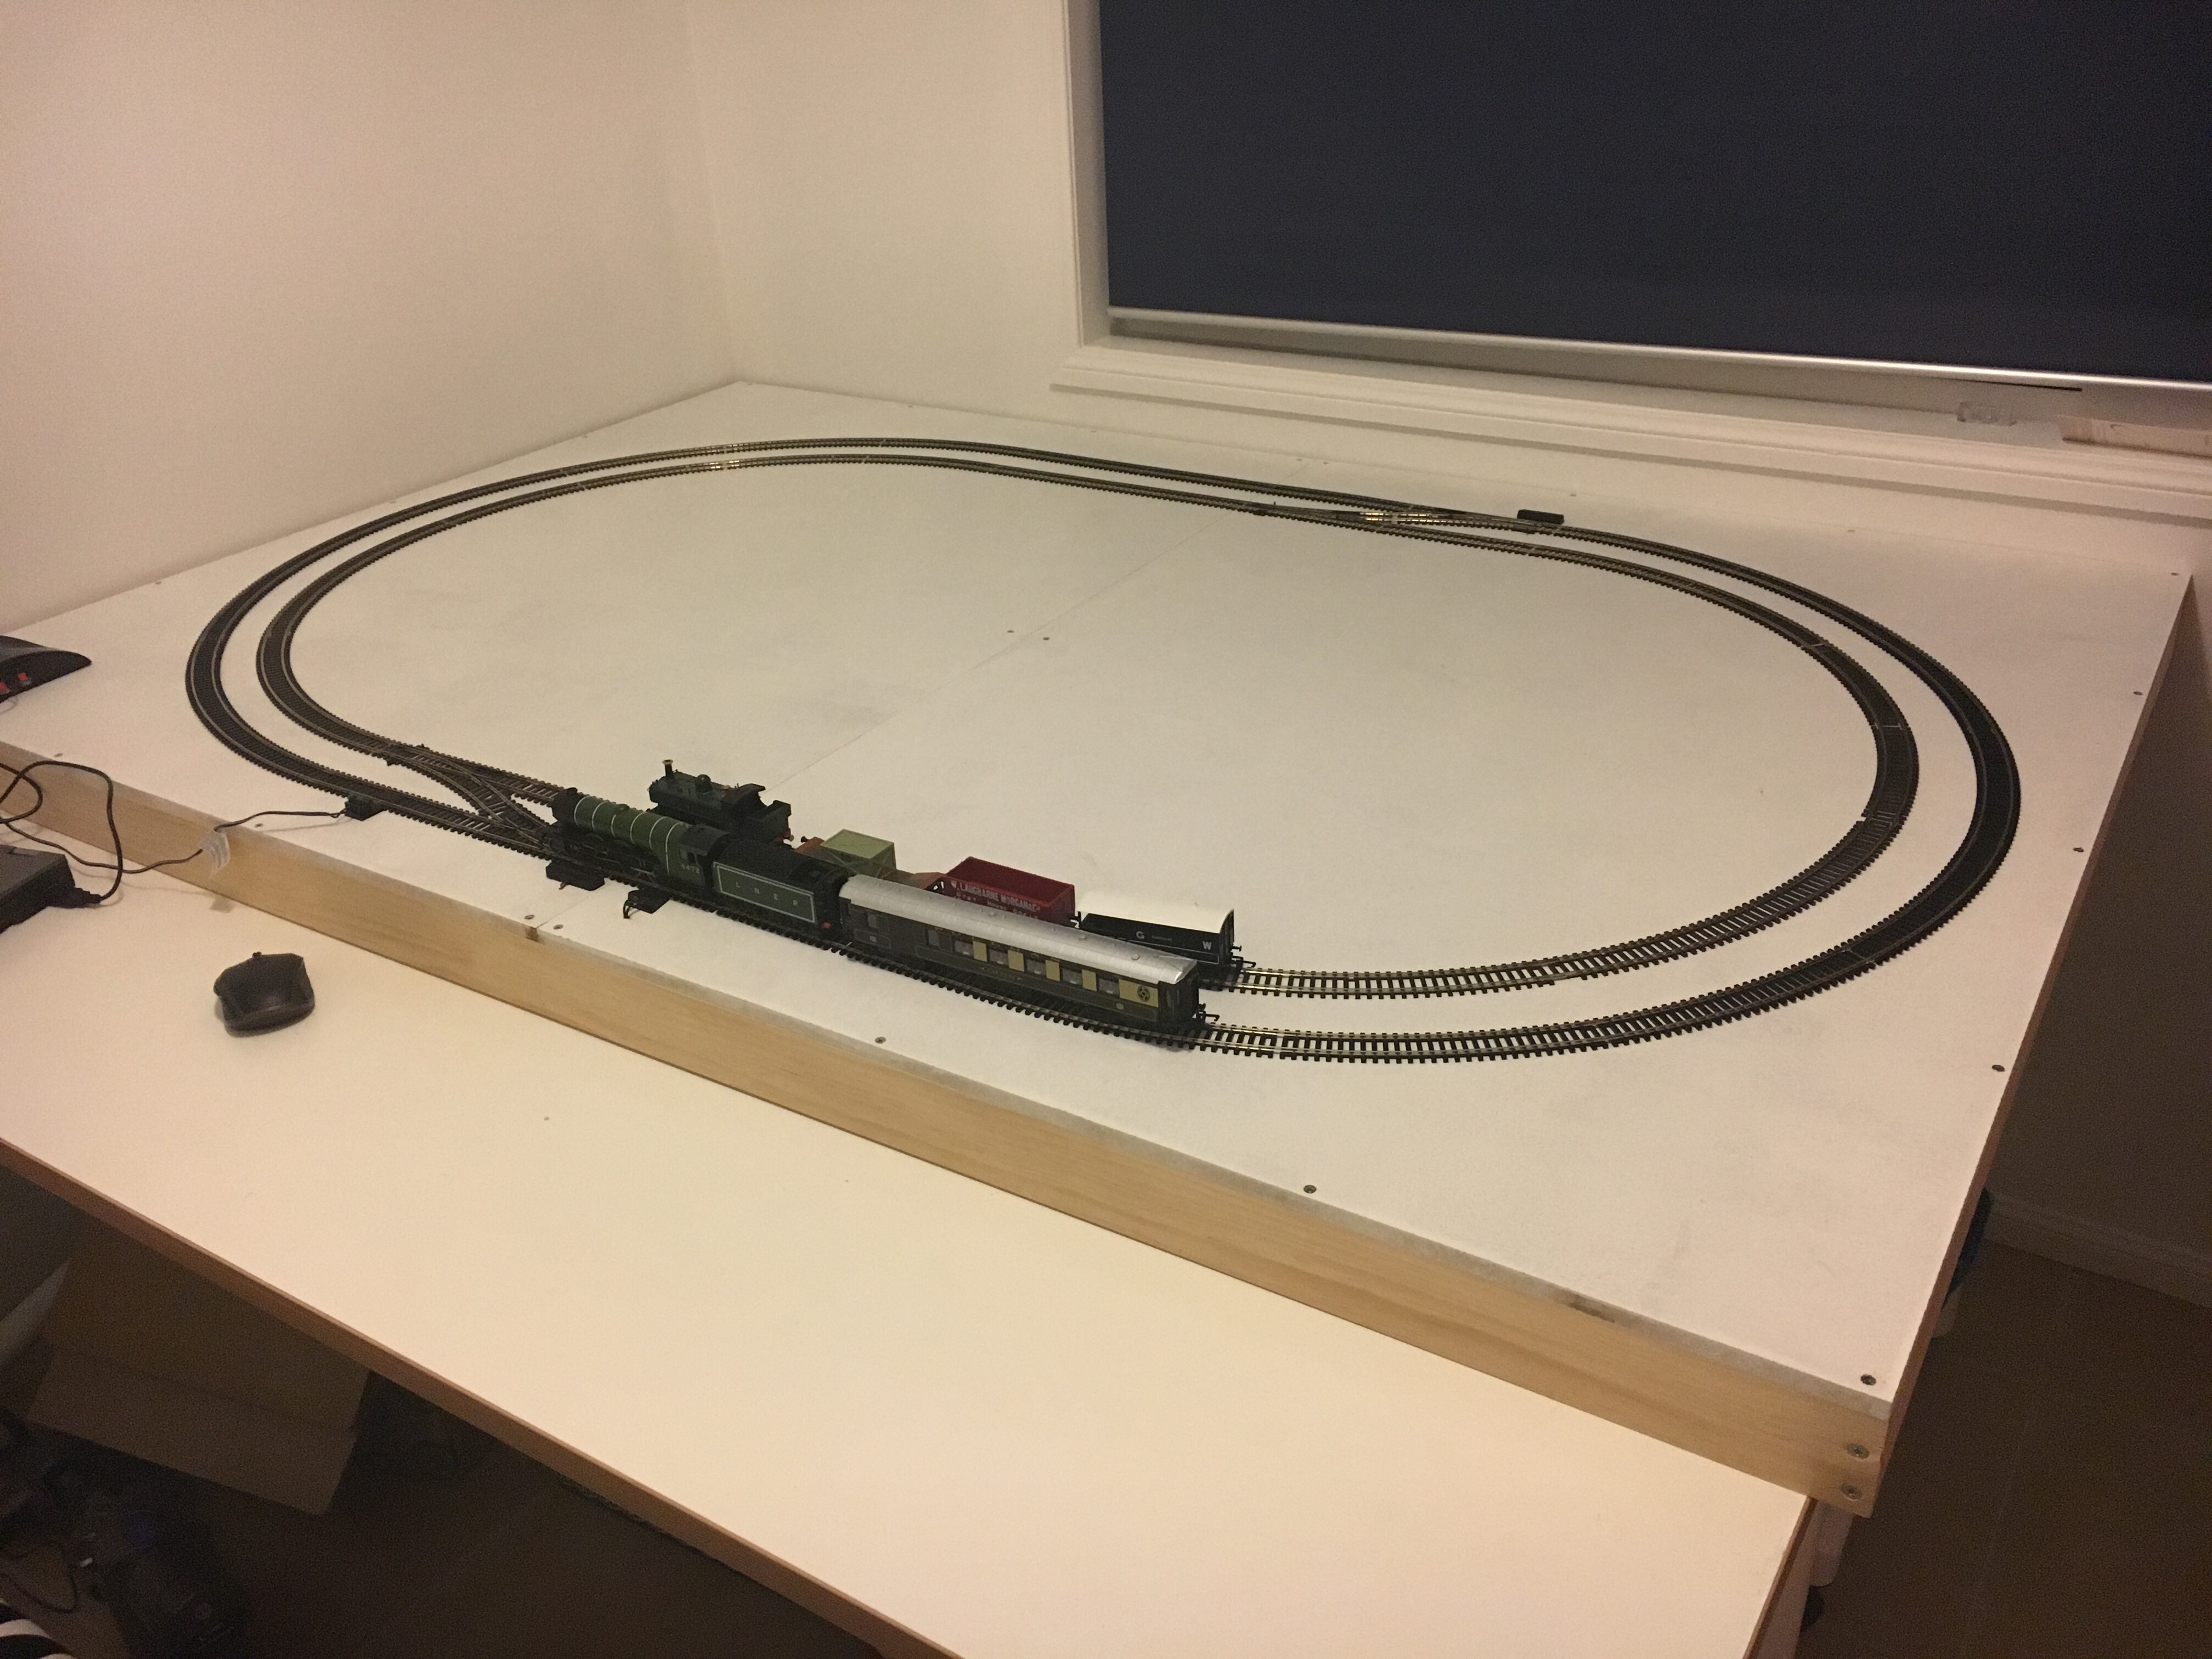
But since those tables had to stay where they were, I couldn't just build a full-blown railway table in their place. So I decided to build a tabletop instead, and rest it on those tables for the time being. Even with the space constraints, I'd be able to move the tables apart or slide the frame around a bit in order to get to its underside. The frame would measure about 1800x1200mm (6x4ft).
There is no shortage on material, guidance and opinions about the building of model railway tables on the internet. A number of them were quite helpful for me in deciding what I was going to use and how I was going to build the table. The main questions I had were around the baseboard material. Of course, there are regional differences in what materials are available and what they're called. Some forums recommend softer baseboard materials such as sundeala or pinboard, which makes it easier to pin things down, but requires more support in the frame. Others prefer plywood, and some have successfully used MDF to their satisfaction. Most advised against materials such as particle board, which is apparently not resilient enough.
Based on availability and quality of materials, the choice for me came down to either plywood or MDF. I checked out the options at my local hardware store and was less than impressed with the selection of plywood on offer - most of it was shoddy quality. After picking up a piece of 12mm MDF and being happy with its sturdiness and quality, I opted for that material. It's not everyone's favourite choice, with people on forums saying it is prone to dust and doesn't handle moisture well. I am not much of a handyman myself, but I knew that I would give the MDF a coat of paint before running any trains on it. And as far as moisture goes, I haven't seen a lot of plywood that gets wet gracefully, either.
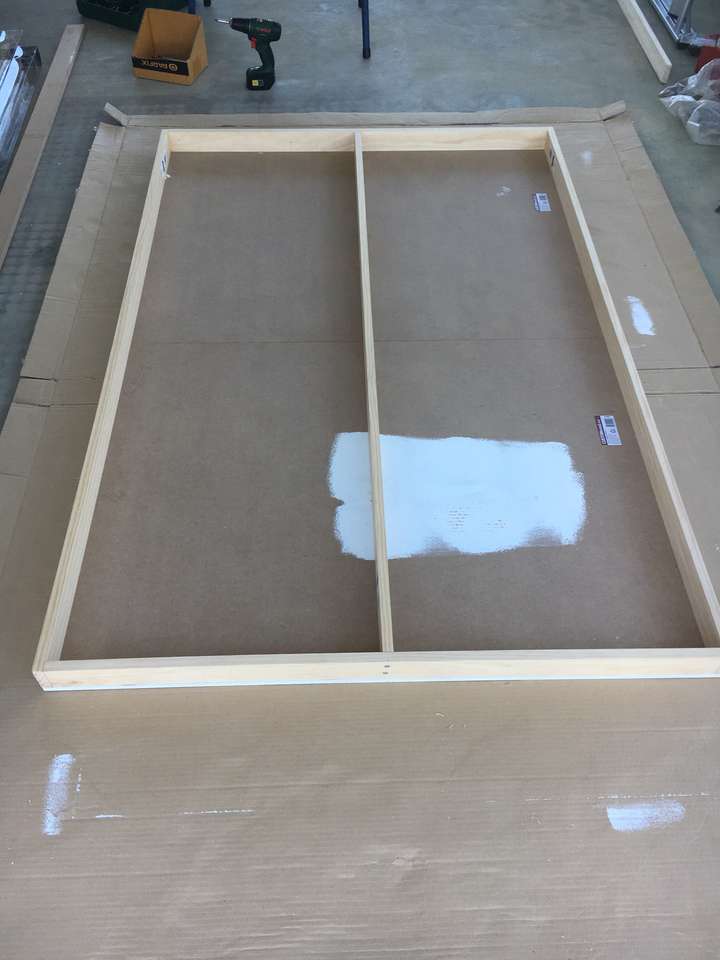
The frame was easier, since the hardware store had decent lengths of dressed pine for very acceptable prices. I ended up buying two sheets of 1200x900x12mm MDF, and several lengths of 64x19mm dressed pine at the required lengths. While most tutorials recommend to first assemble the frame and then attach the baseboard, I did not have enough faith in my capability to accurately measure and cut so that a square frame would come together. So after giving the MDF sheets a coat of paint and letting them dry (which takes no time at all in our current heat), I lined them up face-down and built the frame over them. Due to the relative rigidity of the MDF, I decided to only add one lengthwise brace, which was enough to keep the two boards level and aligned without sagging. Should I at some point put this frame on legs, I will probably add cross-braces, too.
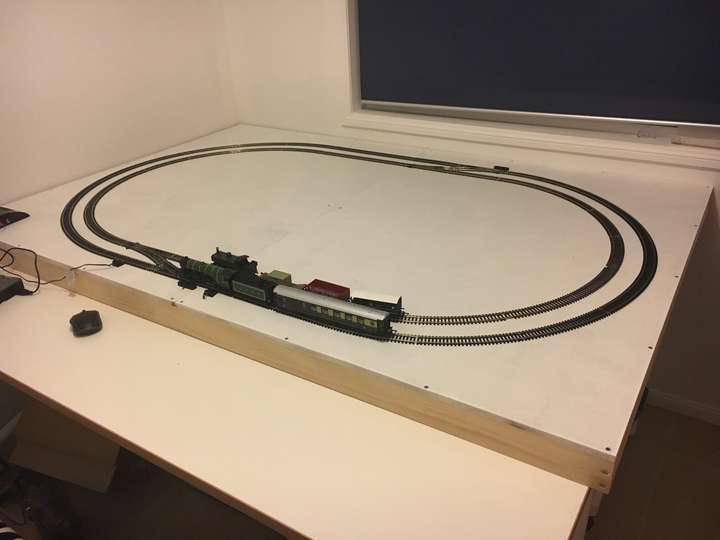
The result can be seen in the photos below. Next comes the interesting (and lengthy) process of trying out different layout options to make the most of the limited space I have. Stay tuned.

