The Tale of the Track Tester
A few weeks back, after understanding the difference between H0 and 00 gauge, I decided to switch to H0, simply because it offers a much larger variety and is not just limited to primarily British models. I sold my 00 locos and rolling stock, and pre-ordered a H0 scale Queensland Rail 2300 Class diesel loco to start off the new fleet. The reason for this pick is that we live close to the West Moreton system, on which the 2300 is the primary freight workhorse.
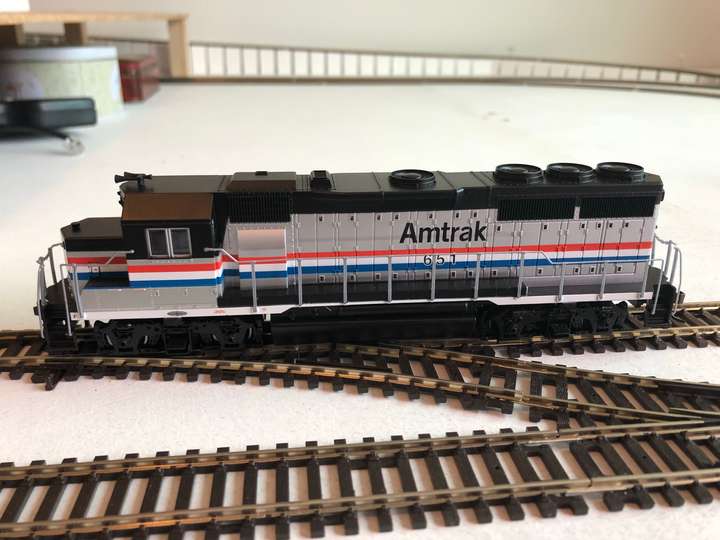
A few weekends back, we decided to finally make some progress on the actual layout, decided on a track plan and bought the necessary track pieces and other materials. We didn't have anything to test the layout, so we budgeted about $100 for a loco which we could use for precisely that purpose. At our preferred model railway store, we found - with a bit of assistance - a GP40 in Amtrak colours which fit the bill and the budget. Now my job became to equip that baby with DCC.
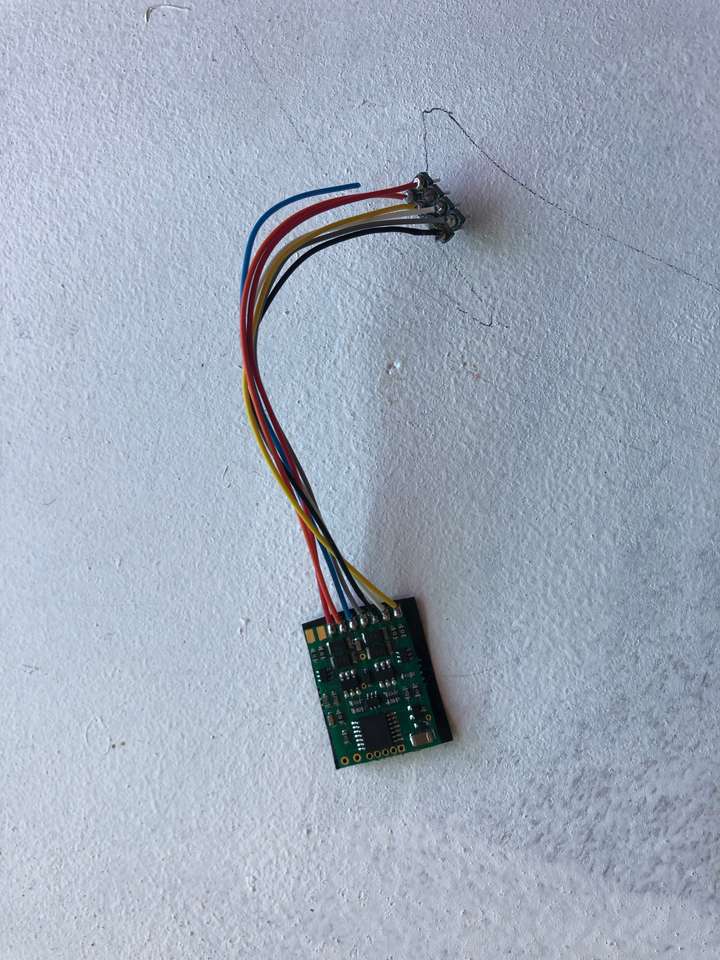
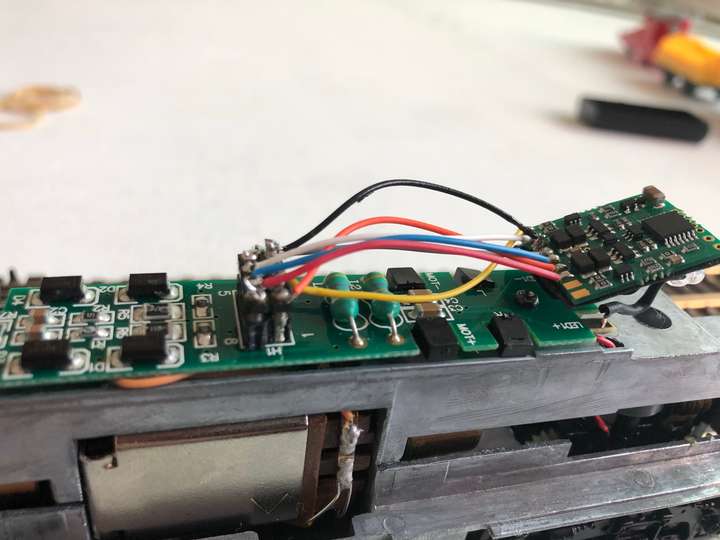
That should have been easy, as we specifically asked for a DCC-ready loco, and the shop owner confirmed that it had an 8-pin DCC plug. We had also bought a suitable decoder, a NCE D13WP. Opening up the loco is simple enough once you know how - the fuel tank on the underside of the loco covers the screws which attach the body shell to the chassis. The circuit board sits right on top, with the DCC plug easily accessible. Plug in the decoder, arrange the wires, reattach the body shell and... hold that thought.
Even before I got to putting the shell back on, one wire broke off the decoder. I do own a soldering iron, but haven't put a lot of mileage on it. I also don't have the steadiest hands, so this promised to be adventurous. First I accidentally put on a bit too much solder and therefore created a connection between two terminals on the decoder. I managed to fix that and get the wire soldered back on eventually. Pop the decoder back in, attach the body shell, and Bob's your aunt. Lo and behold, the headlights came on, and the loco ran. It ran around the track, and up the provisional 4% incline we installed, and down it again, and came back around.
It ran for a glorious ten minutes.
I had just reversed the loco into two freight cars to see how it handled a bit of load, when it stopped dead. The lights still switched on and off, but no reaction came from the motor. My first assumption was that the wire had come loose again - that's how much faith I had in my soldering skills. However, when I popped off the body shell, the wire was right where it was supposed to be. Just as a test, I put the loco back on the tracks without the body shell - and it ran. Popped the shell back on and it still ran - for about a minute.
Rinse and repeat, and after the second time, the same wire popped off again - not at the decoder end, but at the plug end. This seems to happen because the wires, which are stiffer than they look, have to sustain quite a bit of bending when the body shell is attached. There aren't many places in that shell where the decoder can fit, so it took a bit of fiddling to get the shell back on the first time. I managed to re-solder the wire to the plug, but didn't even get as far as plugging the decoder in properly before another wire broke off. That's when I called it a day.
A bit later - a few weeks, really - I wanted to get that loco running again. I decided to shorten the wires to the plug, which involved cutting them off and soldering them back on one by one. In the process, I managed to solder them back on in an angle that would make them less susceptible to bending - or so I hoped. Indeed, the loco ran again after reinstalling the decoder, although the lights weren't working. But once I popped the body shell back on, the controller shorted out. Turns out there had been a little too much solder on one of the terminals, and it had bent and created a short.
Even that got fixed, and the loco ran again, body shell and all, but still no headlights. I was almost content to leave it at that, when, after stopping the loco for a quick check, it wouldn't run again. No wires seemed to be loose, and the LEDs gave the telltale flash when the loco was set onto the powered tracks, but nothing else happened. This was now going well beyond effort that was worth it. I wasn't about to re-solder every wire, especially not to the tiny terminals on the decoder. My soldering iron is not suited for that kind of fine work. I guess this decoder is a write-off, and I will try again with a different brand in the near future. The alternative is that my fine motor skills are so bad that I can't get a simple DCC decoder installation done, and even I refuse to believe that.
I do however know which brand of decoder I won't be buying again in a hurry.


