The Track Plan
It took us a while to come up with this one. We looked at other layouts and track plans, and tried to come up with something that would maximise the usage of our available space, while offering some room for scenic features. Here's what we ended up with.
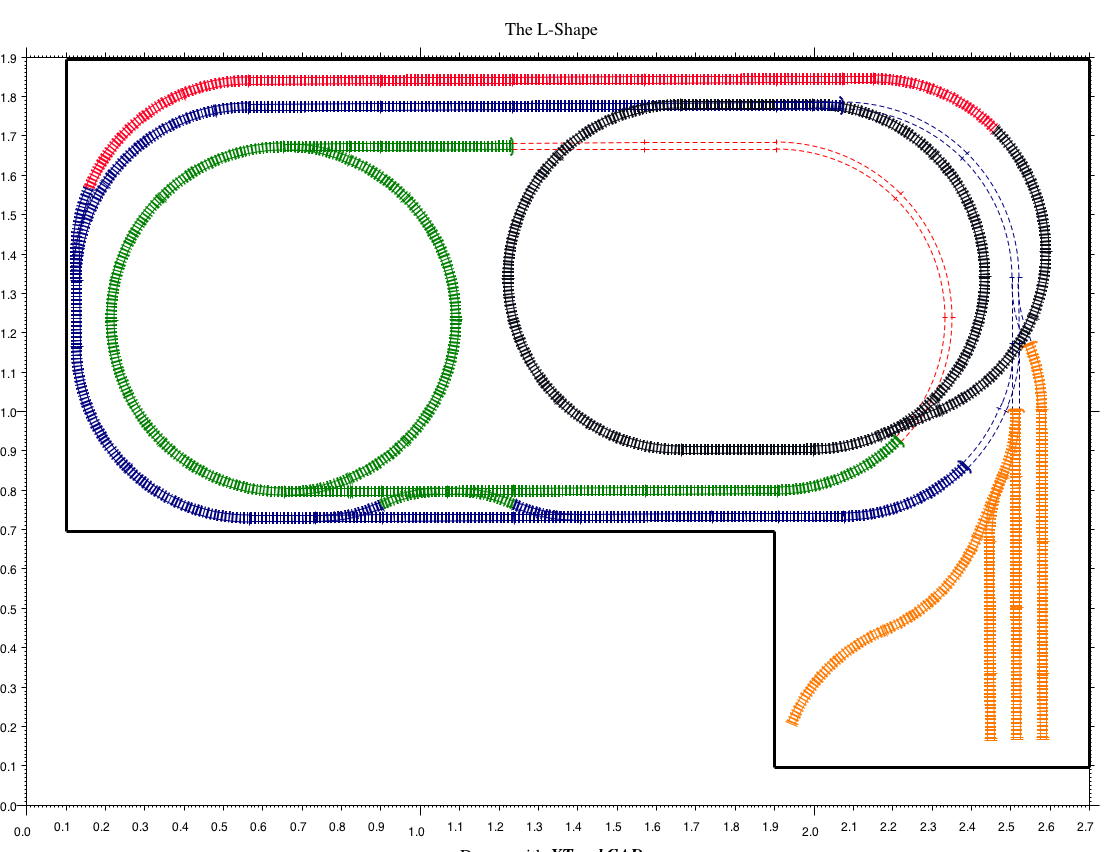
The black oval is elevated, and the red track is the incline to that oval. The small storage area in the foot of the (reverse) L is really just that - an area to park trains that aren't currently in use. The green circle will contain a scenic feature, and one of the ideas is to have a kind of scenic railway that operates from the elevated area to the circle, and back. Some things we are still making up as we go along.
The track plan as such is a compromise. I wanted a bigger yard area, my wife wanted more scenic stuff. At the end of the day, there's probably things we could do differently, but we'll plough ahead with this one. There is plenty to do to get it up and running - track bed, wiring, point motors, ballast, scenery. I am also planning ahead for a possible later addition of feedback and signalling, however I have some more research to do before I tackle that.
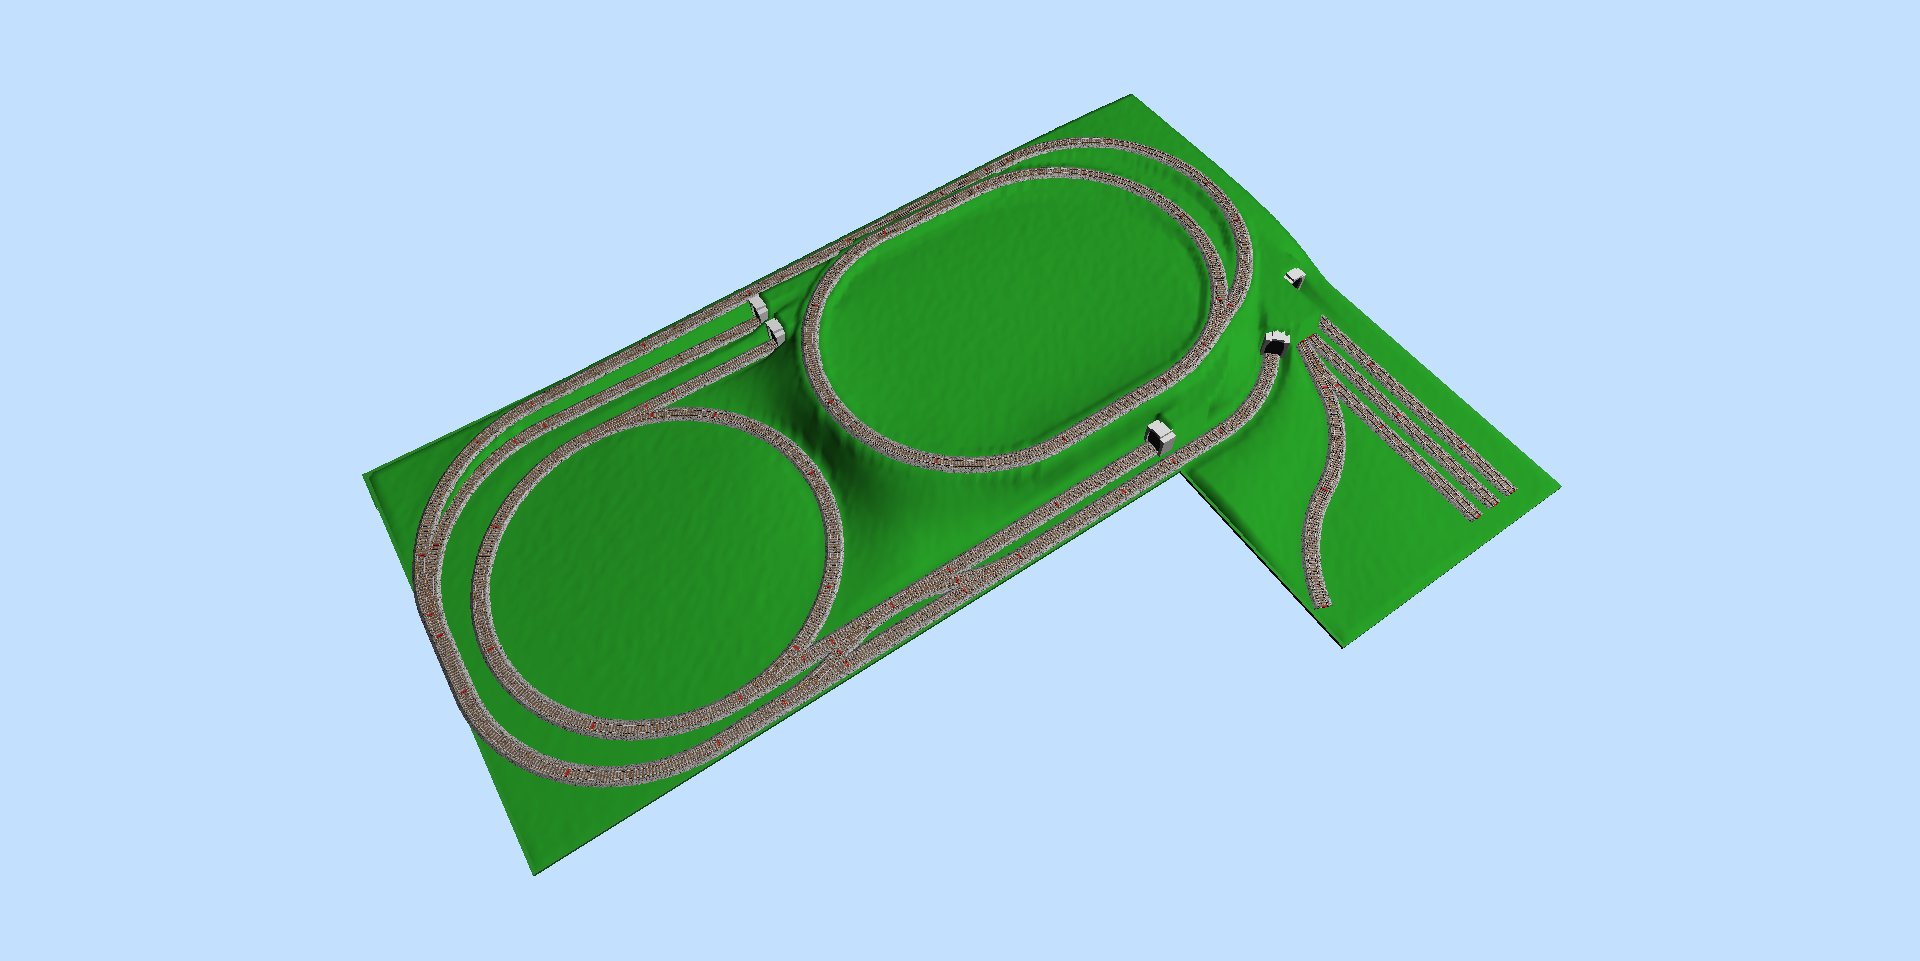
Below is a simple 3D representation of the layout, created in SCARM. I haven't added anything besides the tracks, as we are still deciding on what goes where.
I am currently laying the track bed and fixing the track, preparing the points for underboard motors. The next step will be wiring and testing.